Maintenance

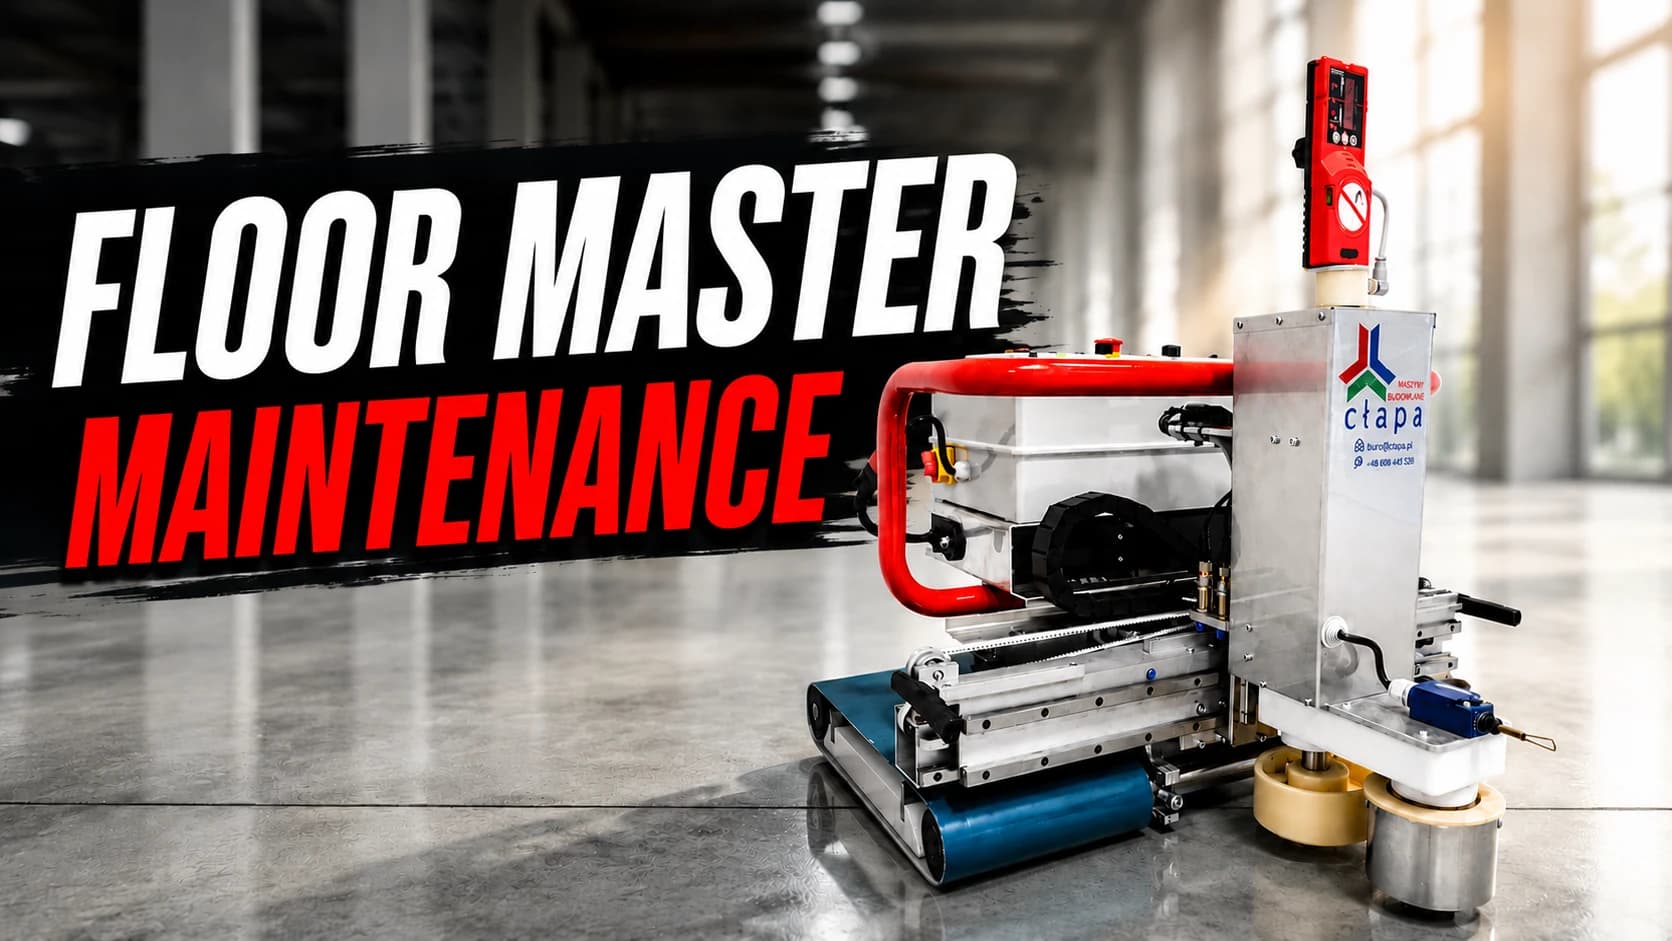
Floor Master Type 130 Maintenance — Operator Guide

Keep the Floor Master Type 130 at peak performance: daily cleaning, battery care, periodic inspections, and lubrication — step by step, straight from the maker.
October 3, 20255 min read
Floor Master Type 130 Maintenance — Operator Guide
Floor Master Type 130 flipped on its back for cleaning — daily maintenance is what keeps the machine accurate and long-lived.

Keep the machine in good shape and set yourself up for trouble-free work for years to come.

Spend a few minutes on cleaning and basic maintenance after each pour. It's the simplest way to reduce the risk of breakdowns and avoid problems down the line.

A few minutes of maintenance after each use keeps the machine running and cuts the risk of costly repairs.
15–20 min
Daily clean after each use, before the mortar dries.
6–7 h
Looking after the battery as recommended helps maintain its capacity and run time.
±1 mm / 20 m
Regular maintenance and cleaning keep the machine's accuracy consistent over time.
0.2 MPa max
Air pressure limit when blowing water off the rollers.

Before you start

Switch off the machine before you start. Read the safety rules before touching any component. Do the daily clean immediately after finishing work, before the mortar starts to set.

Power down first

Disconnect the machine from the power supply. On the corded version, unplug from the socket; on the battery version, disconnect and remove the battery. Power is not needed at this stage.

RuleRequirement
Power disconnectionDisconnect from the power supply before any maintenance.
SupervisionNever leave the machine unattended while it runs.
Keep clearKeep children and untrained people away from the machine.
Authorized parts onlyUse only manufacturer-supplied accessories and parts.
Damage assessmentStop work if cables, plugs, or components show damage.
Professional repairsAll repairs must be consulted with the manufacturer.
Warning

Use the OFF switch to power down, or unplug from the socket. Never pull on the extension cord — it can rip the power cable out of the control box.

Daily cleaning

Set aside 15–20 minutes after each use and start before the concrete dries — it makes everything easier. Use only approved cleaning methods — never a high-pressure water jet.

System overview

Daily cleaning sequence

1
Stop
Power off
2
Actuator plate
Tilt & clean
3
Trowelling plates
Top, sides, bottom
4
Drive rollers
In, out, wheels
5
Rails & bearings
Clean & oil
System flow
Actuator plate
Trowelling plates
Drive rollers
Rails & bearings
Ready to store
01

Clean the actuator plate

What it does
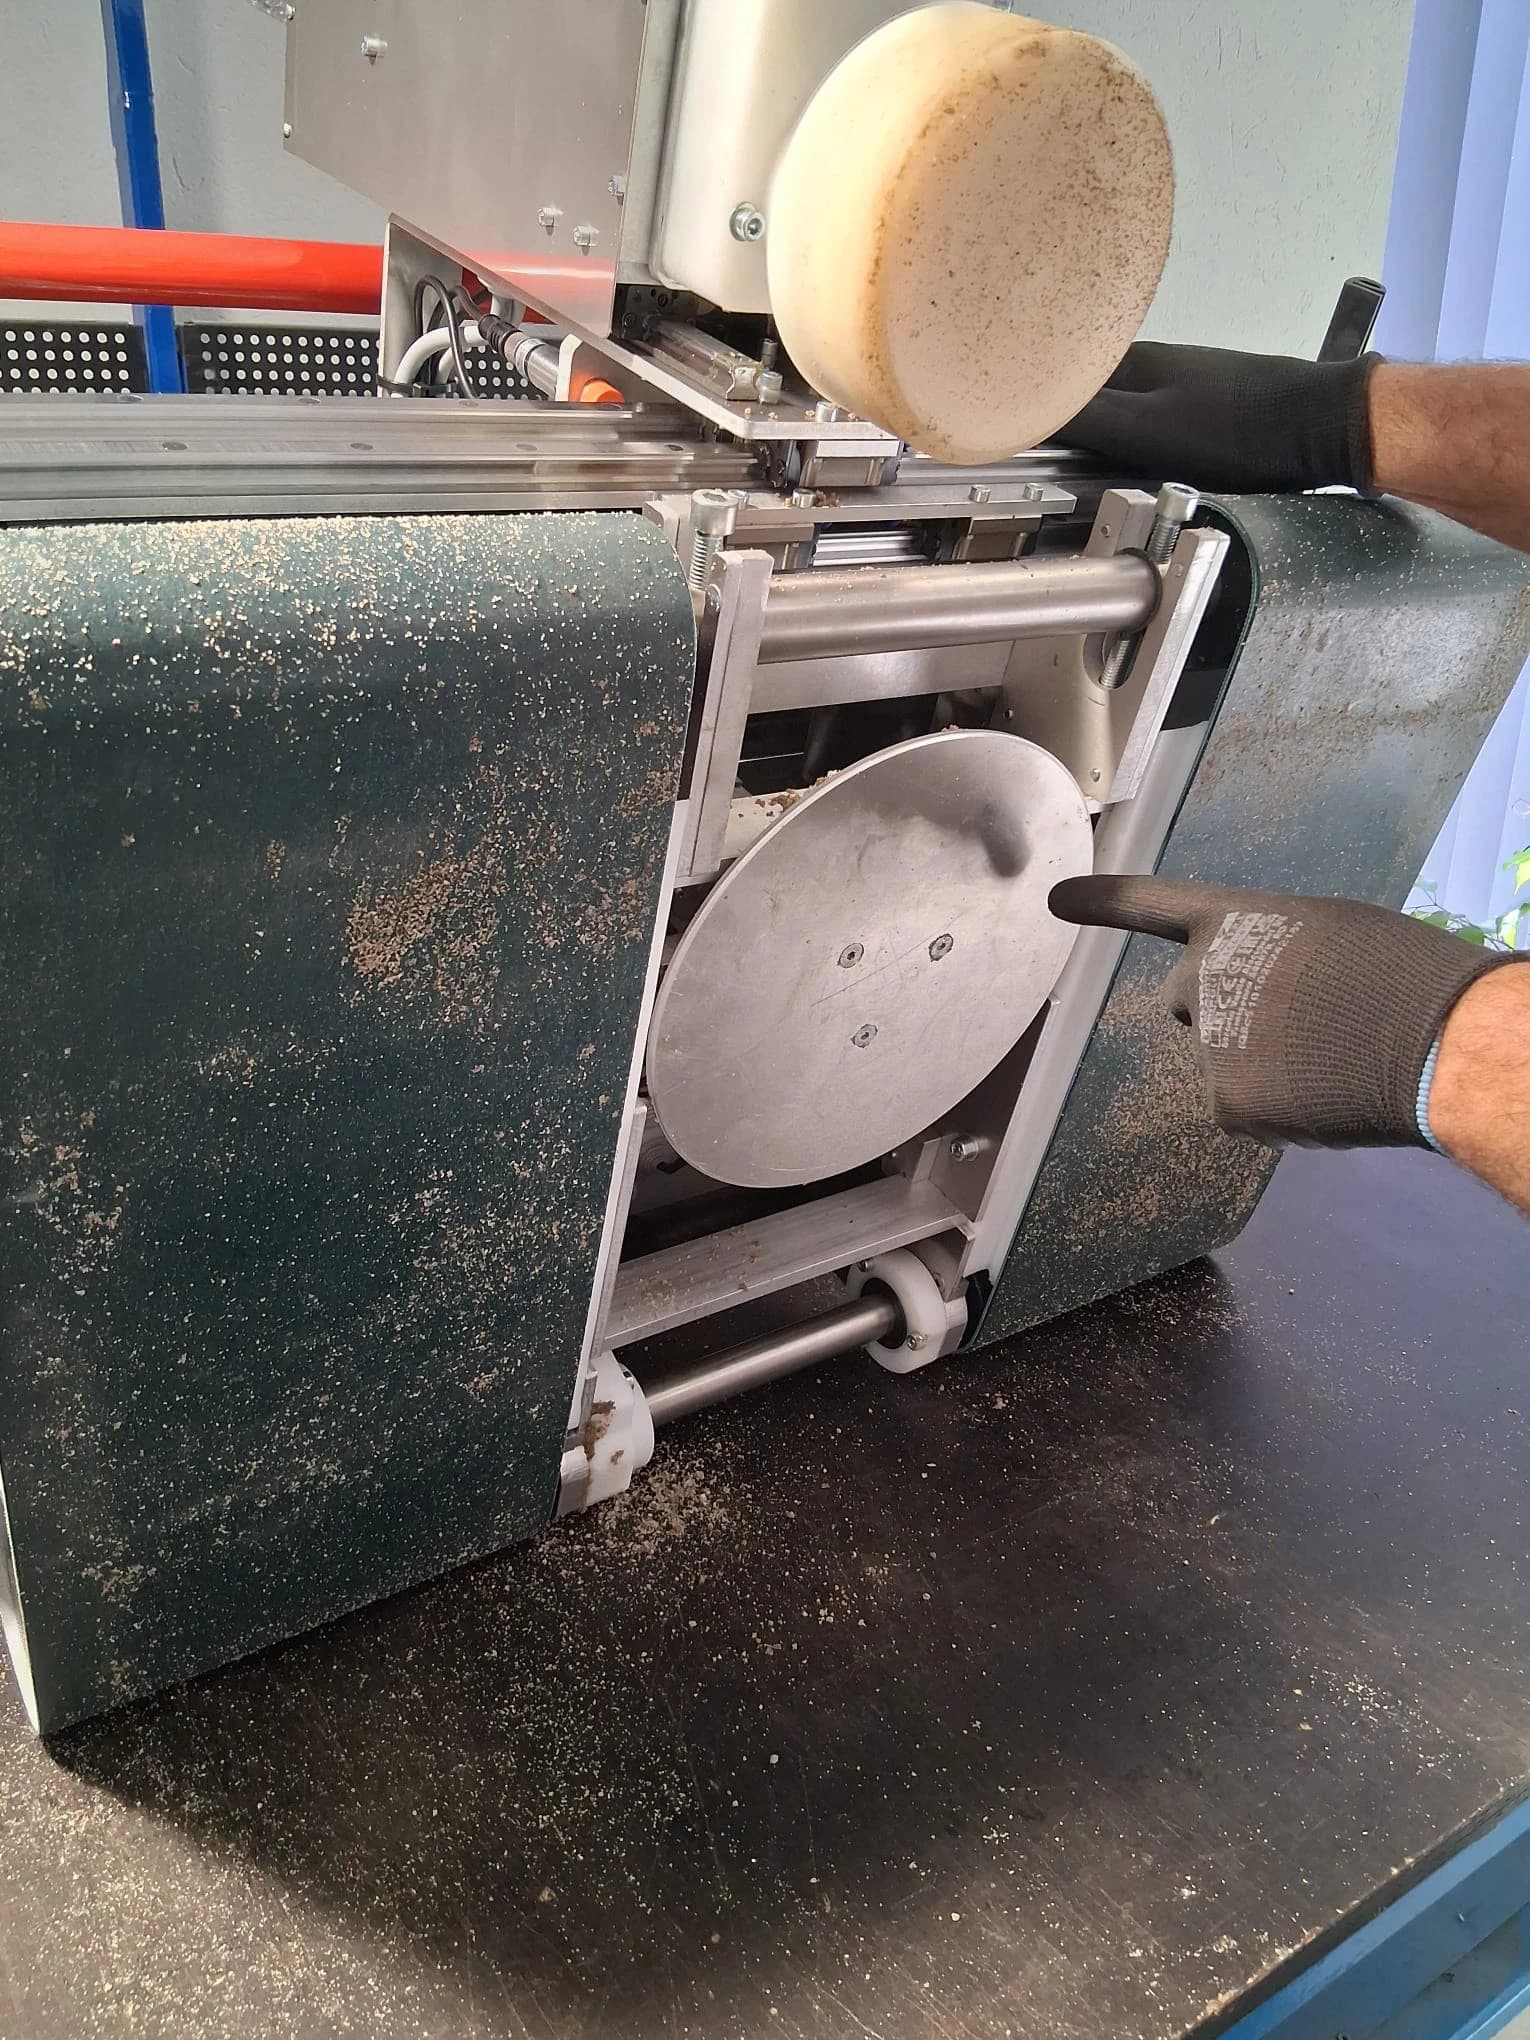
The steel plate under the machine lifts it during maneuvering, making it easier to change direction. To clean it, tilt the machine at an angle and wipe the plate with a damp cloth.
Why it matters
Clean the plate regularly. Dried mortar can damage the fresh floor surface and cause extra rework — and rework costs time.
Warning
Don't stand the machine upright. Keep it at the angle shown in the photo to reduce the risk of contaminating or flooding other components.
The actuator plate underneath the machine
The Floor Master's actuator plate.
02

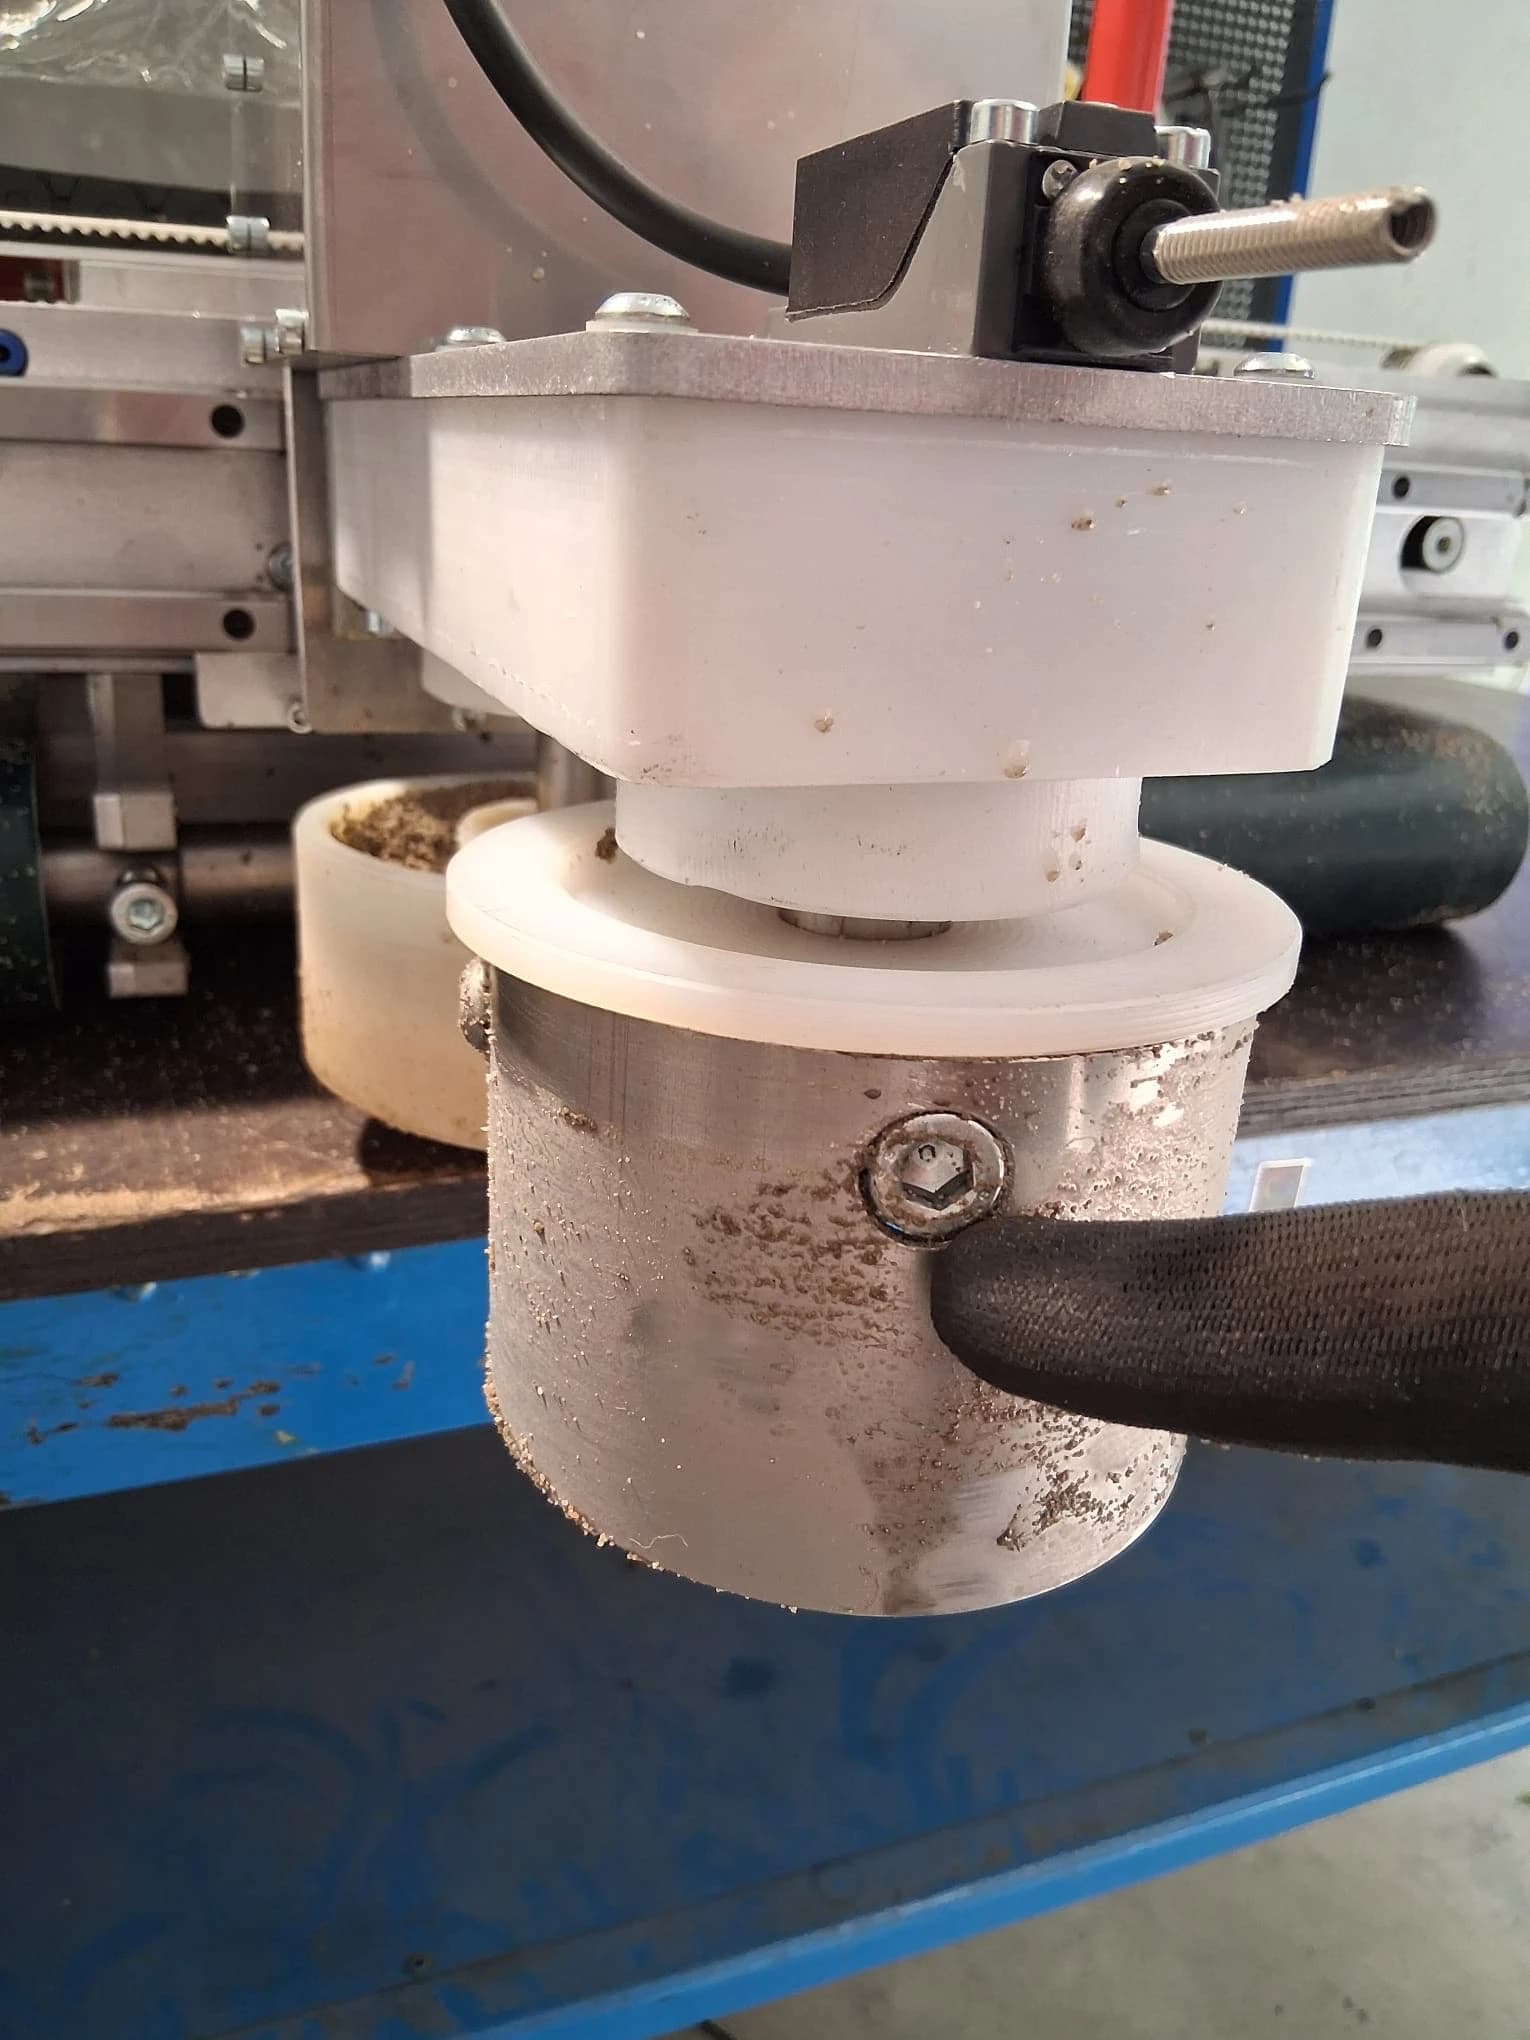
Clean the trowelling plates

What it does
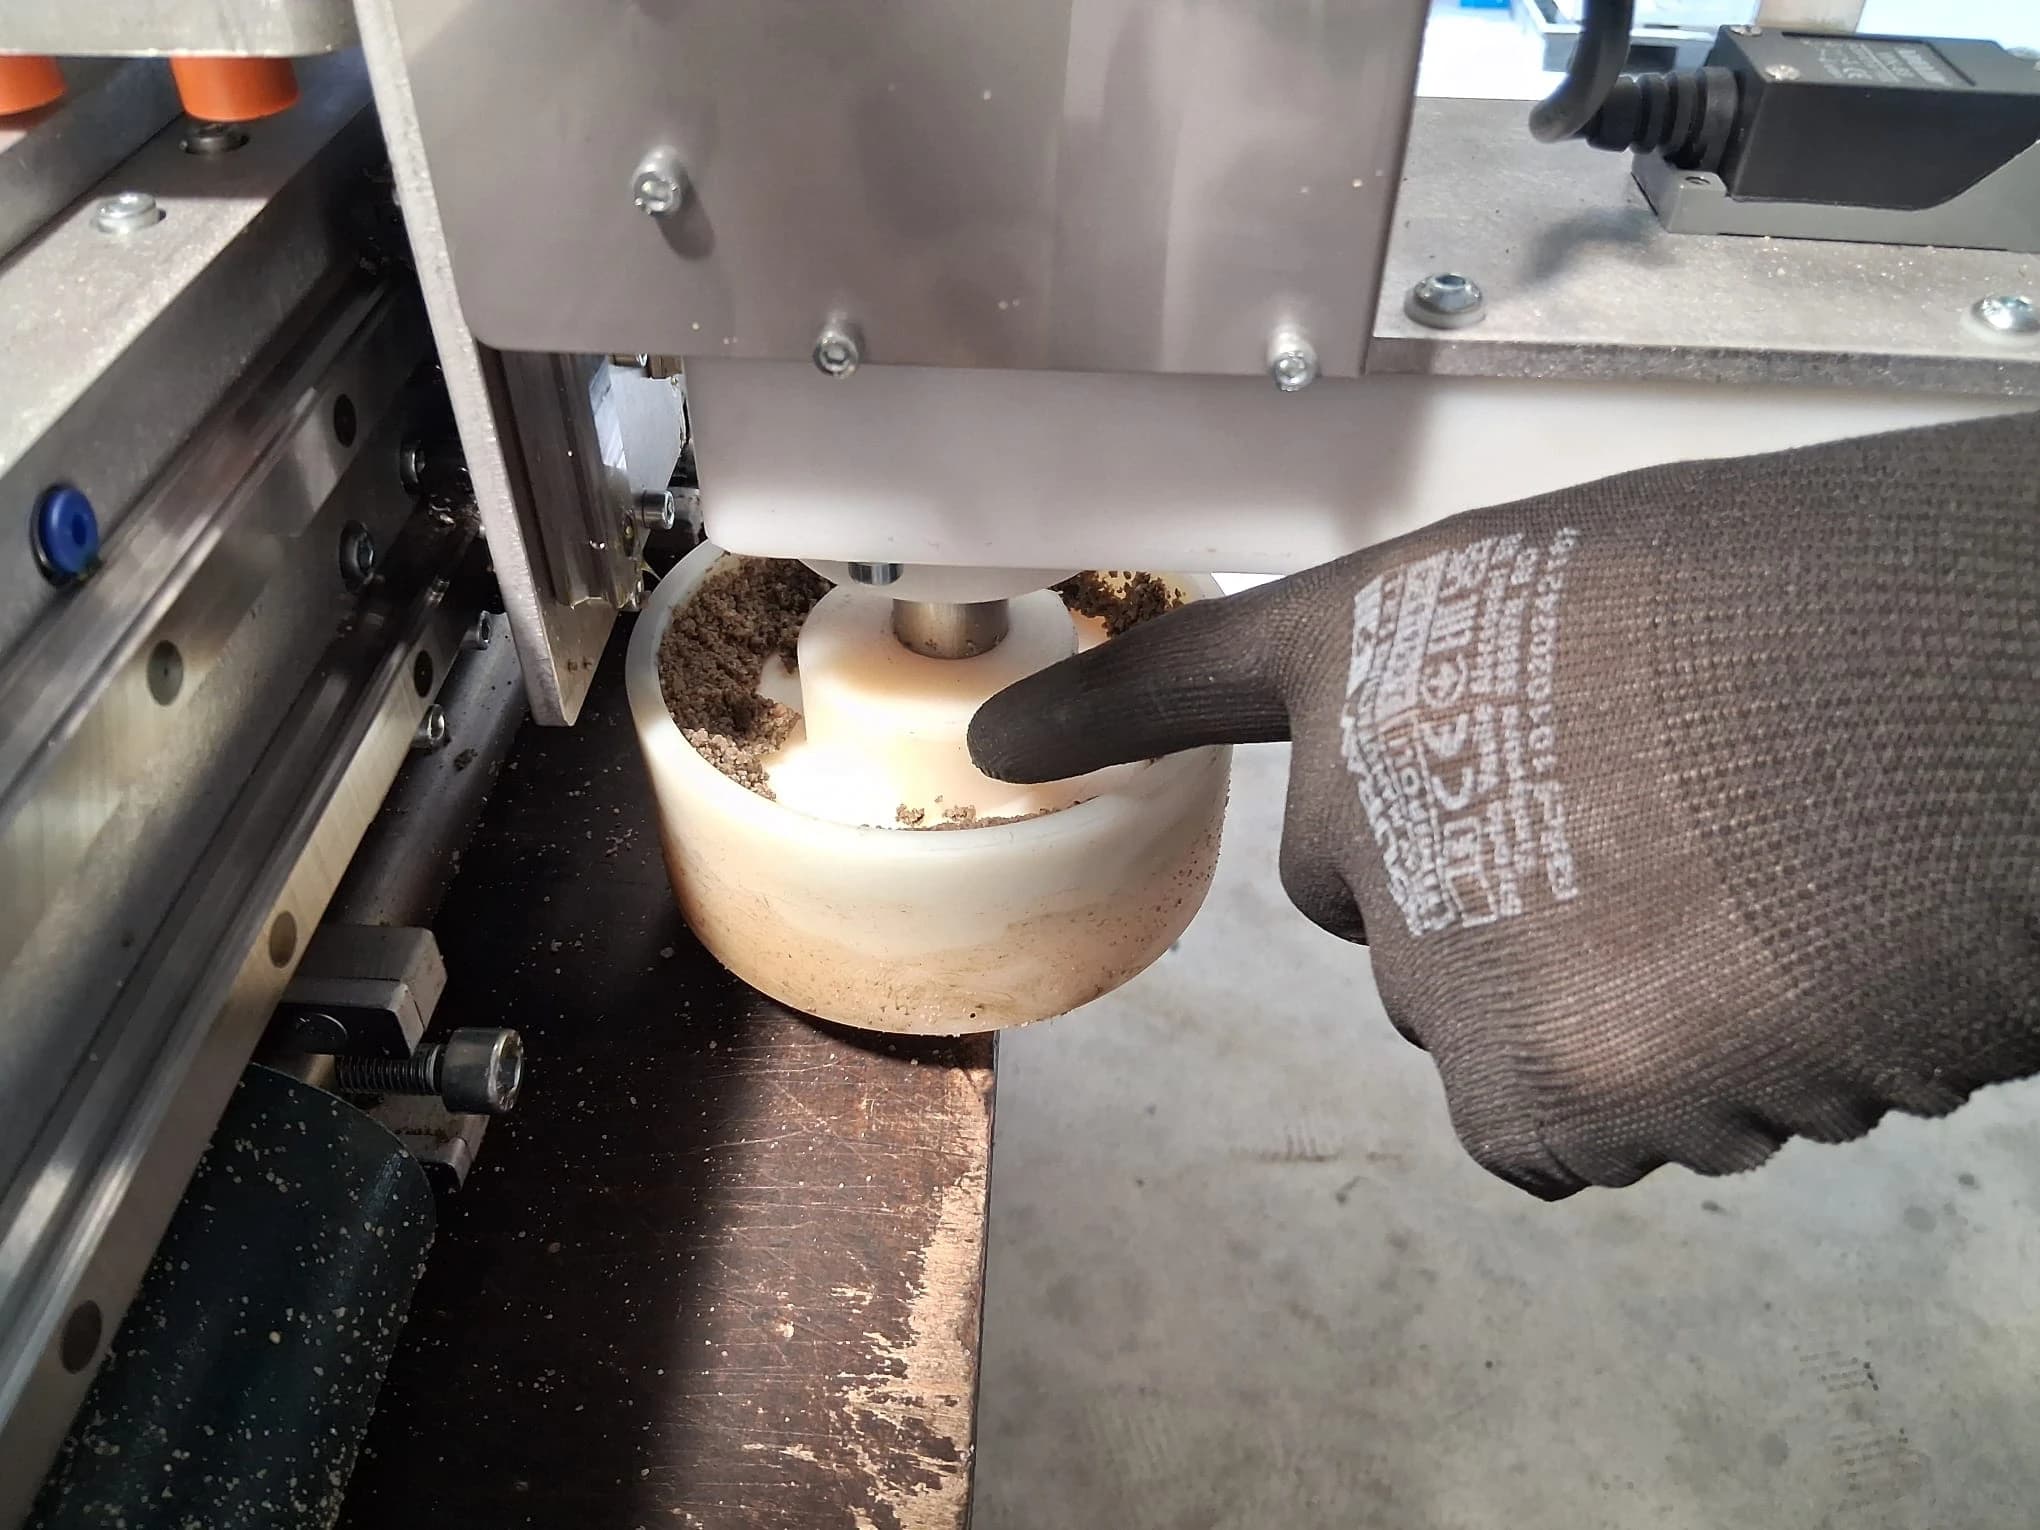
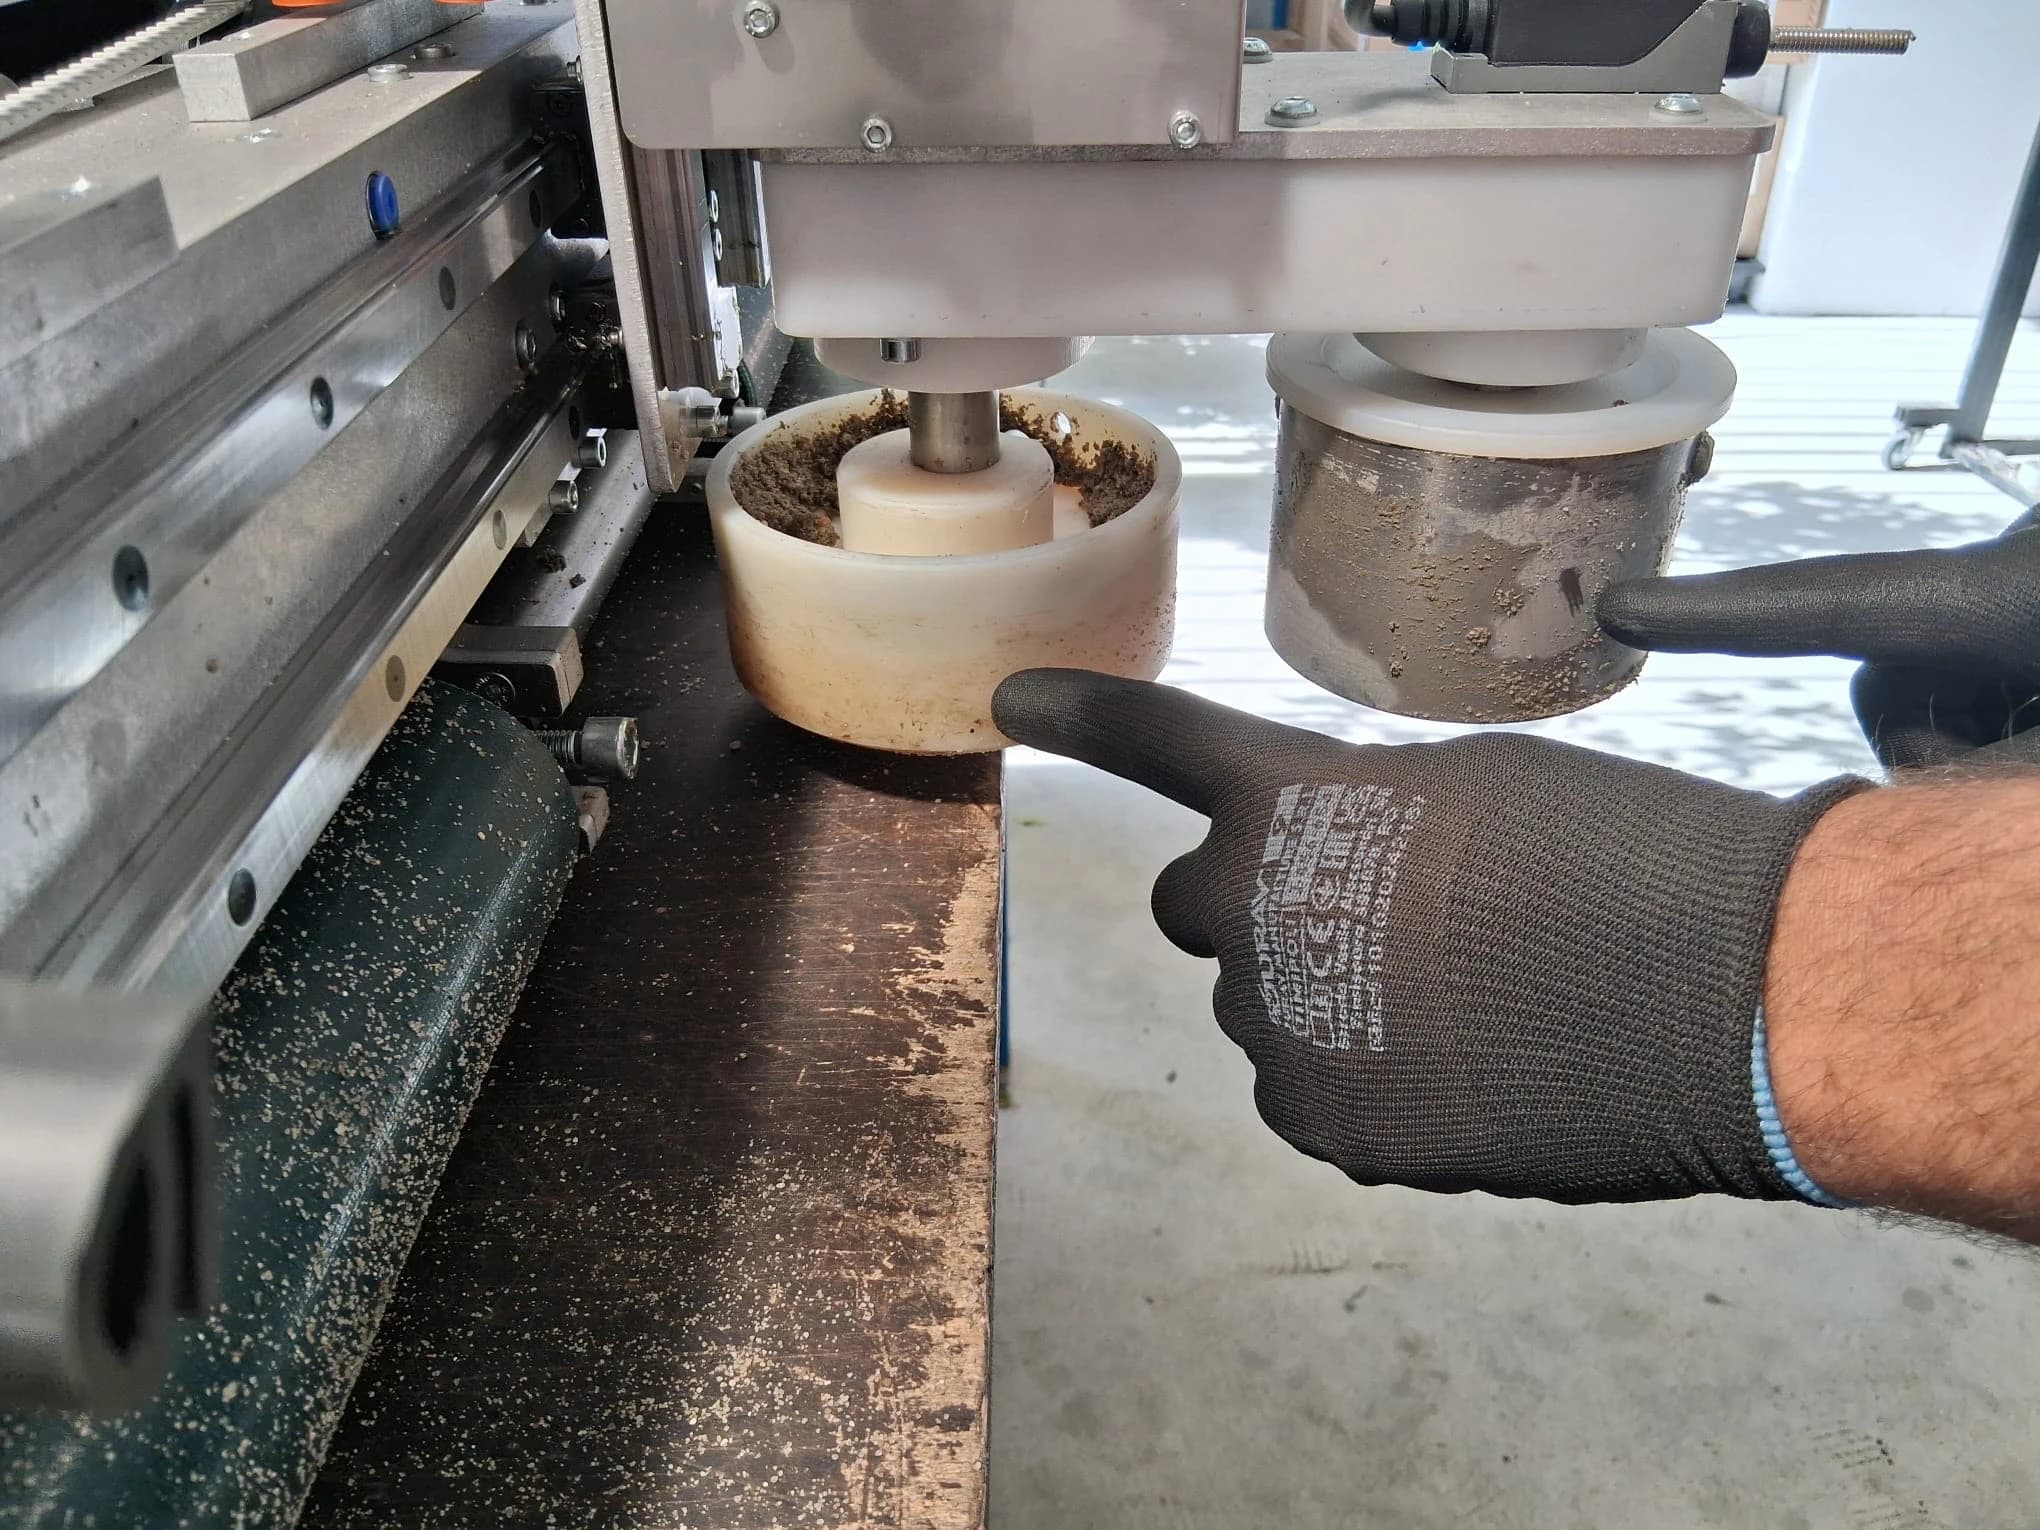
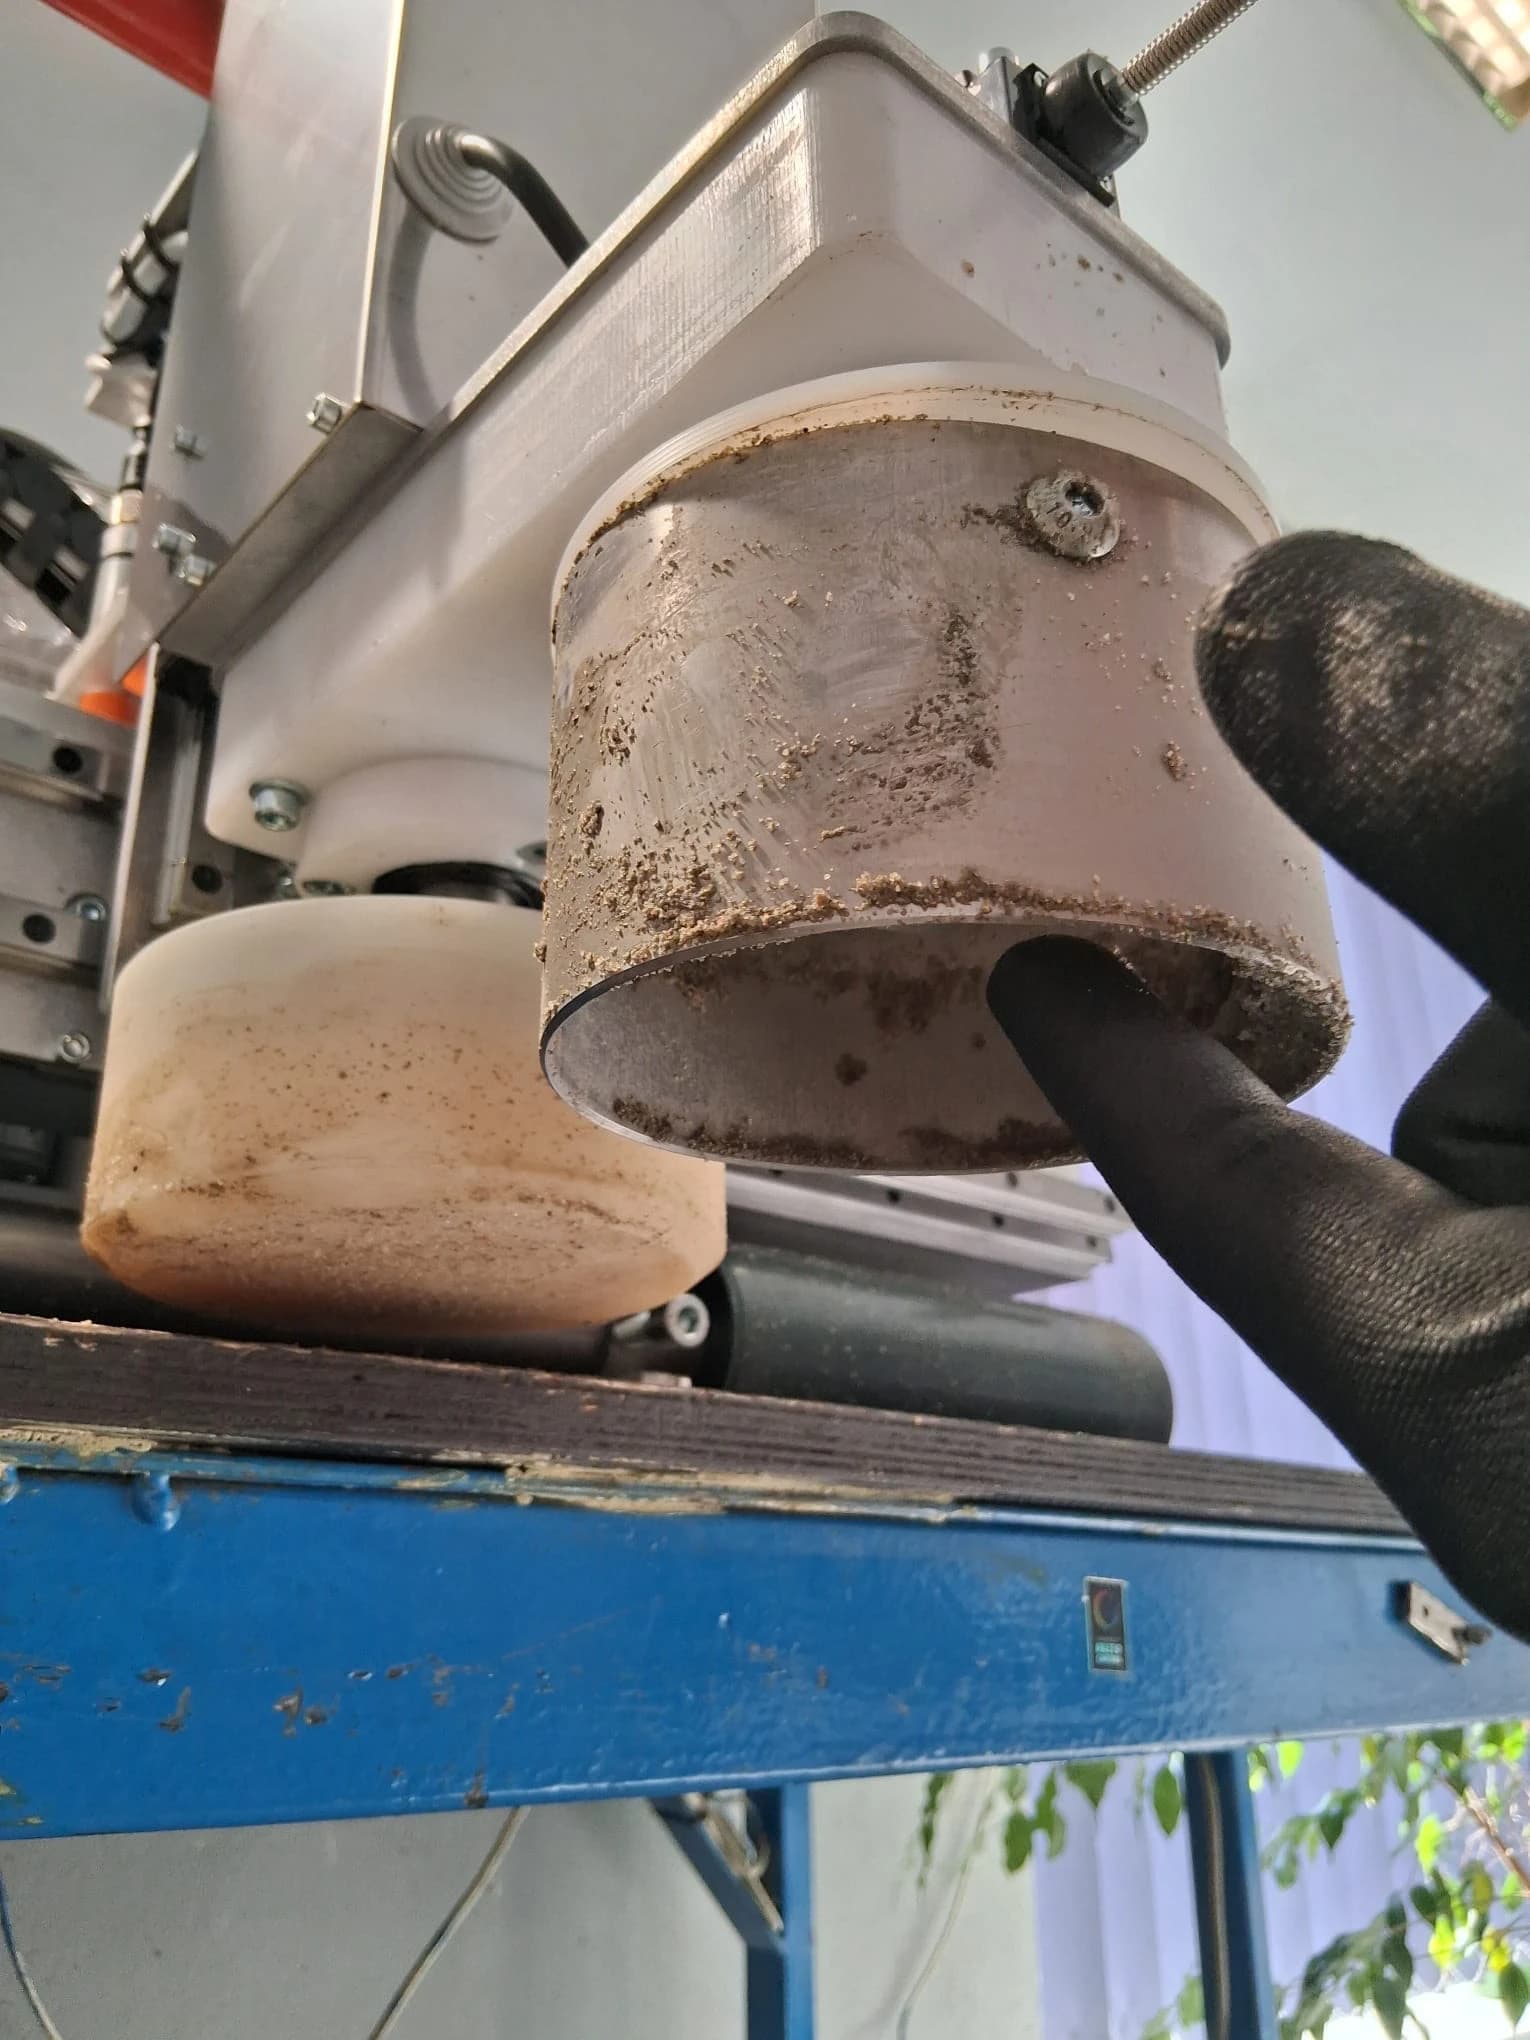
Clean both plates thoroughly. Start with the top surface, then the sides with a hose or damp cloth, then the underside. Finish by clearing the plate mounting screws so they can't seize. The steel plate is hollow inside — that space needs a thorough clean too.
Why it matters
Don't let mortar dry on the trowelling plates. Dirty plates work less effectively, wear out faster, and can leave an uneven finish on the floor.
Operator tip
Keep the machine at a 45° angle for this step — flipping it onto its back drops dirt straight onto the control box. Double-check the plates and screws before moving on.
Cleaning the top of the trowelling plates
Clean the top of the trowelling plates.
Washing the trowelling plates
Never leave the trowelling plates dirty — clean them right after work is done.
Cleaning the underside of the trowelling plates
Clean the bottom of the trowelling plates.
The trowelling plate screws
Caked screws can seize, making them impossible to undo later.
03

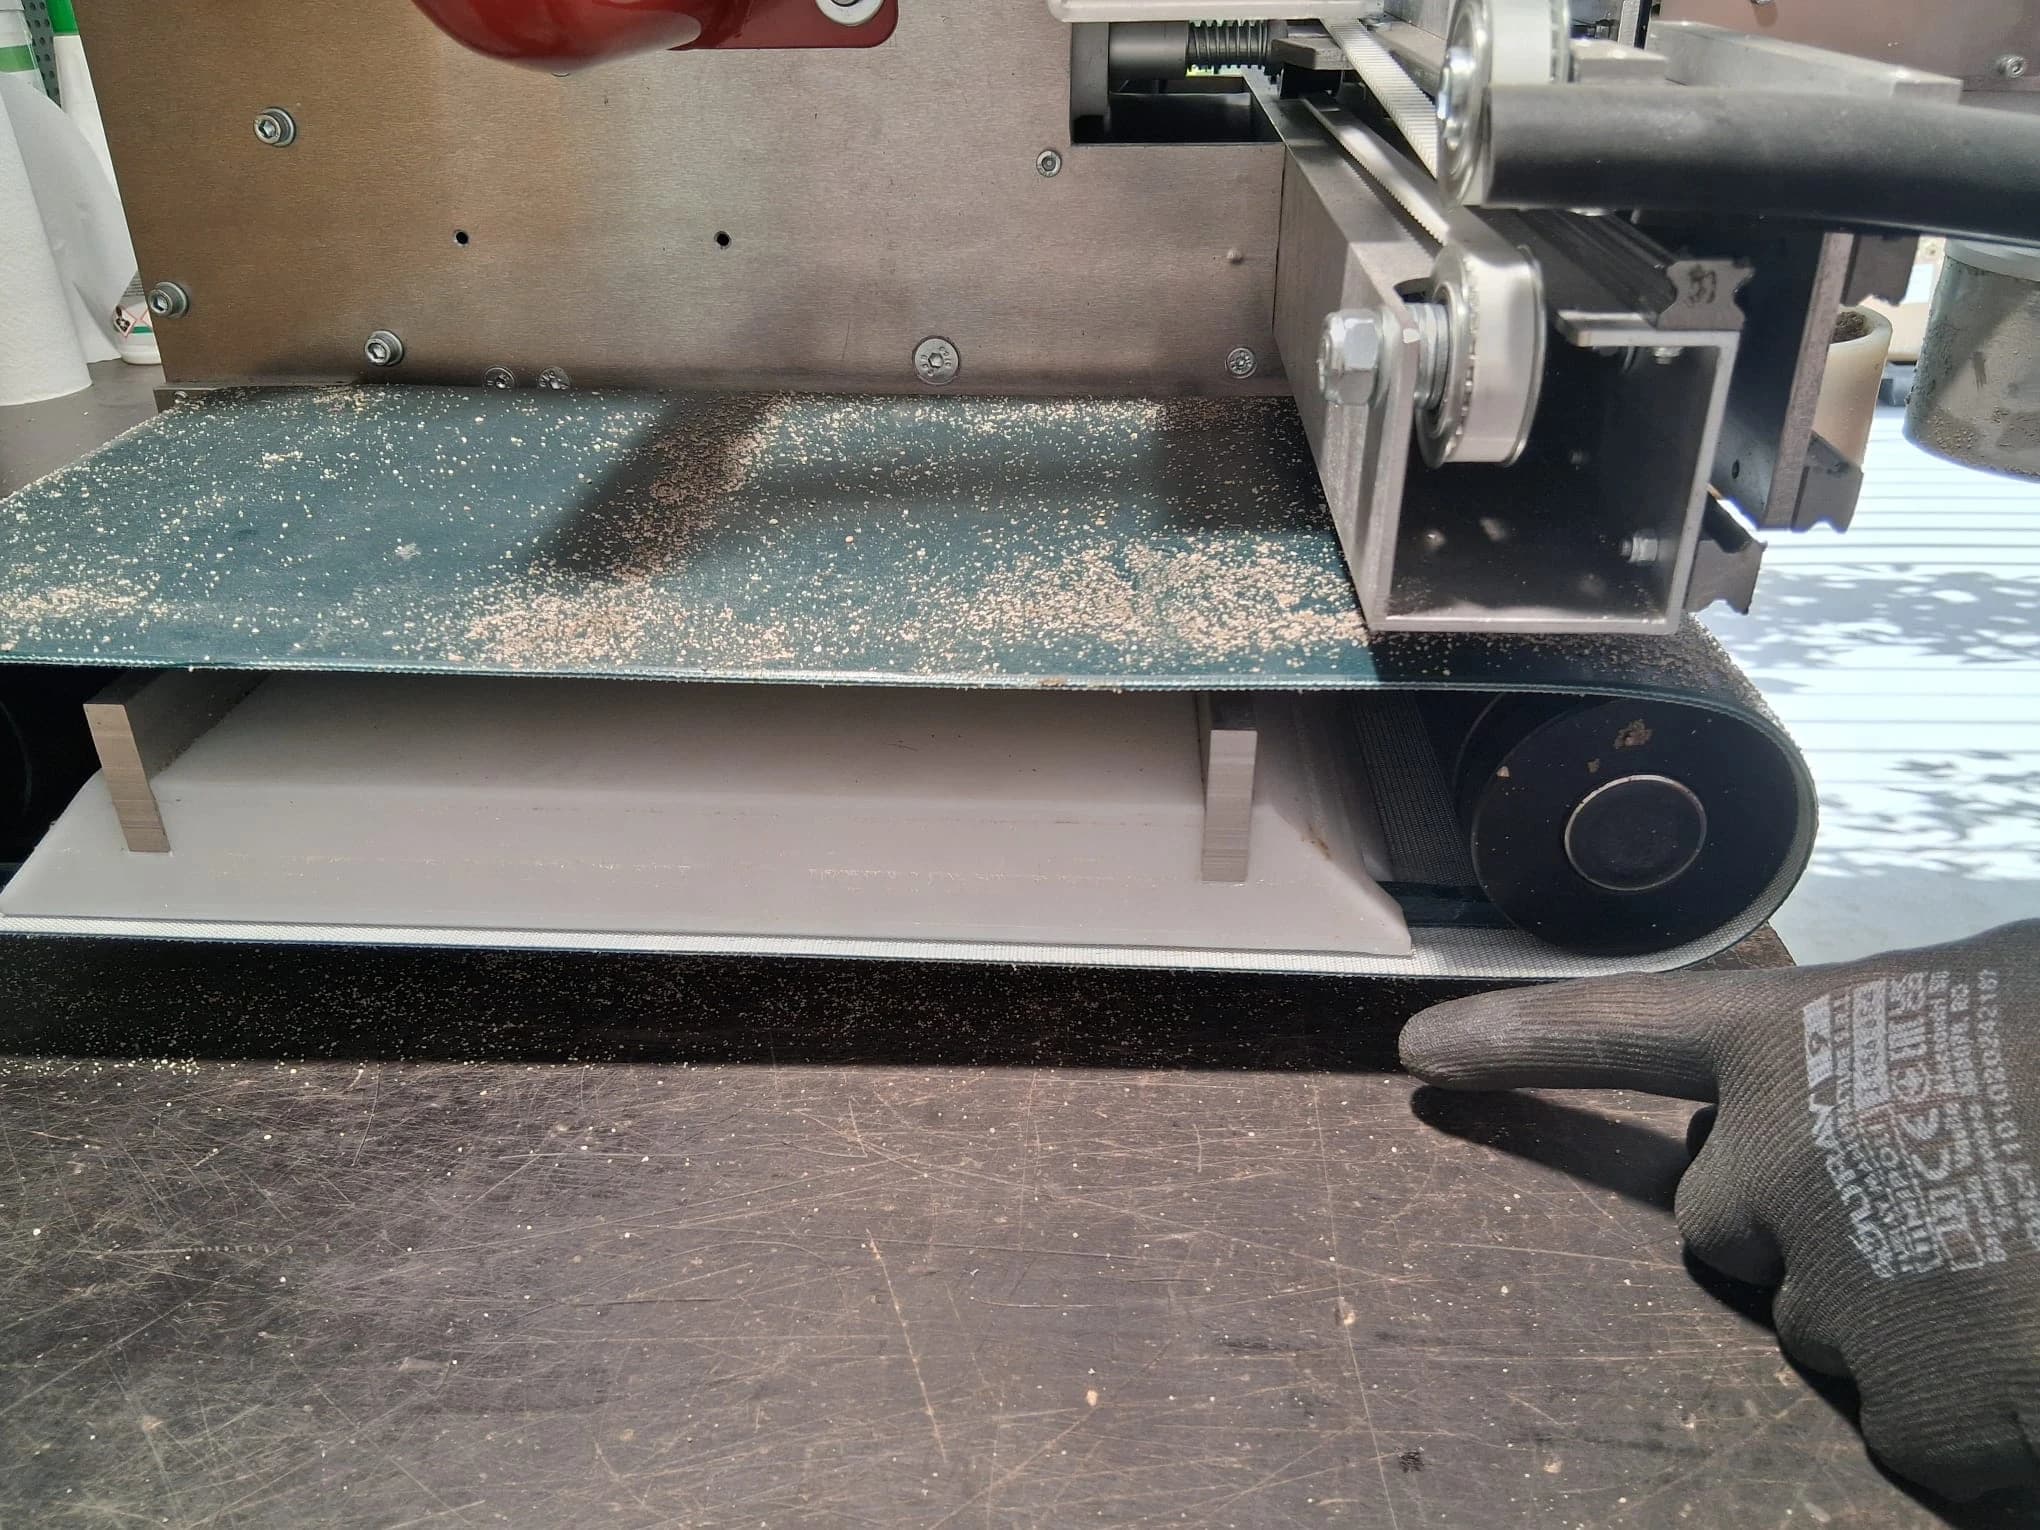
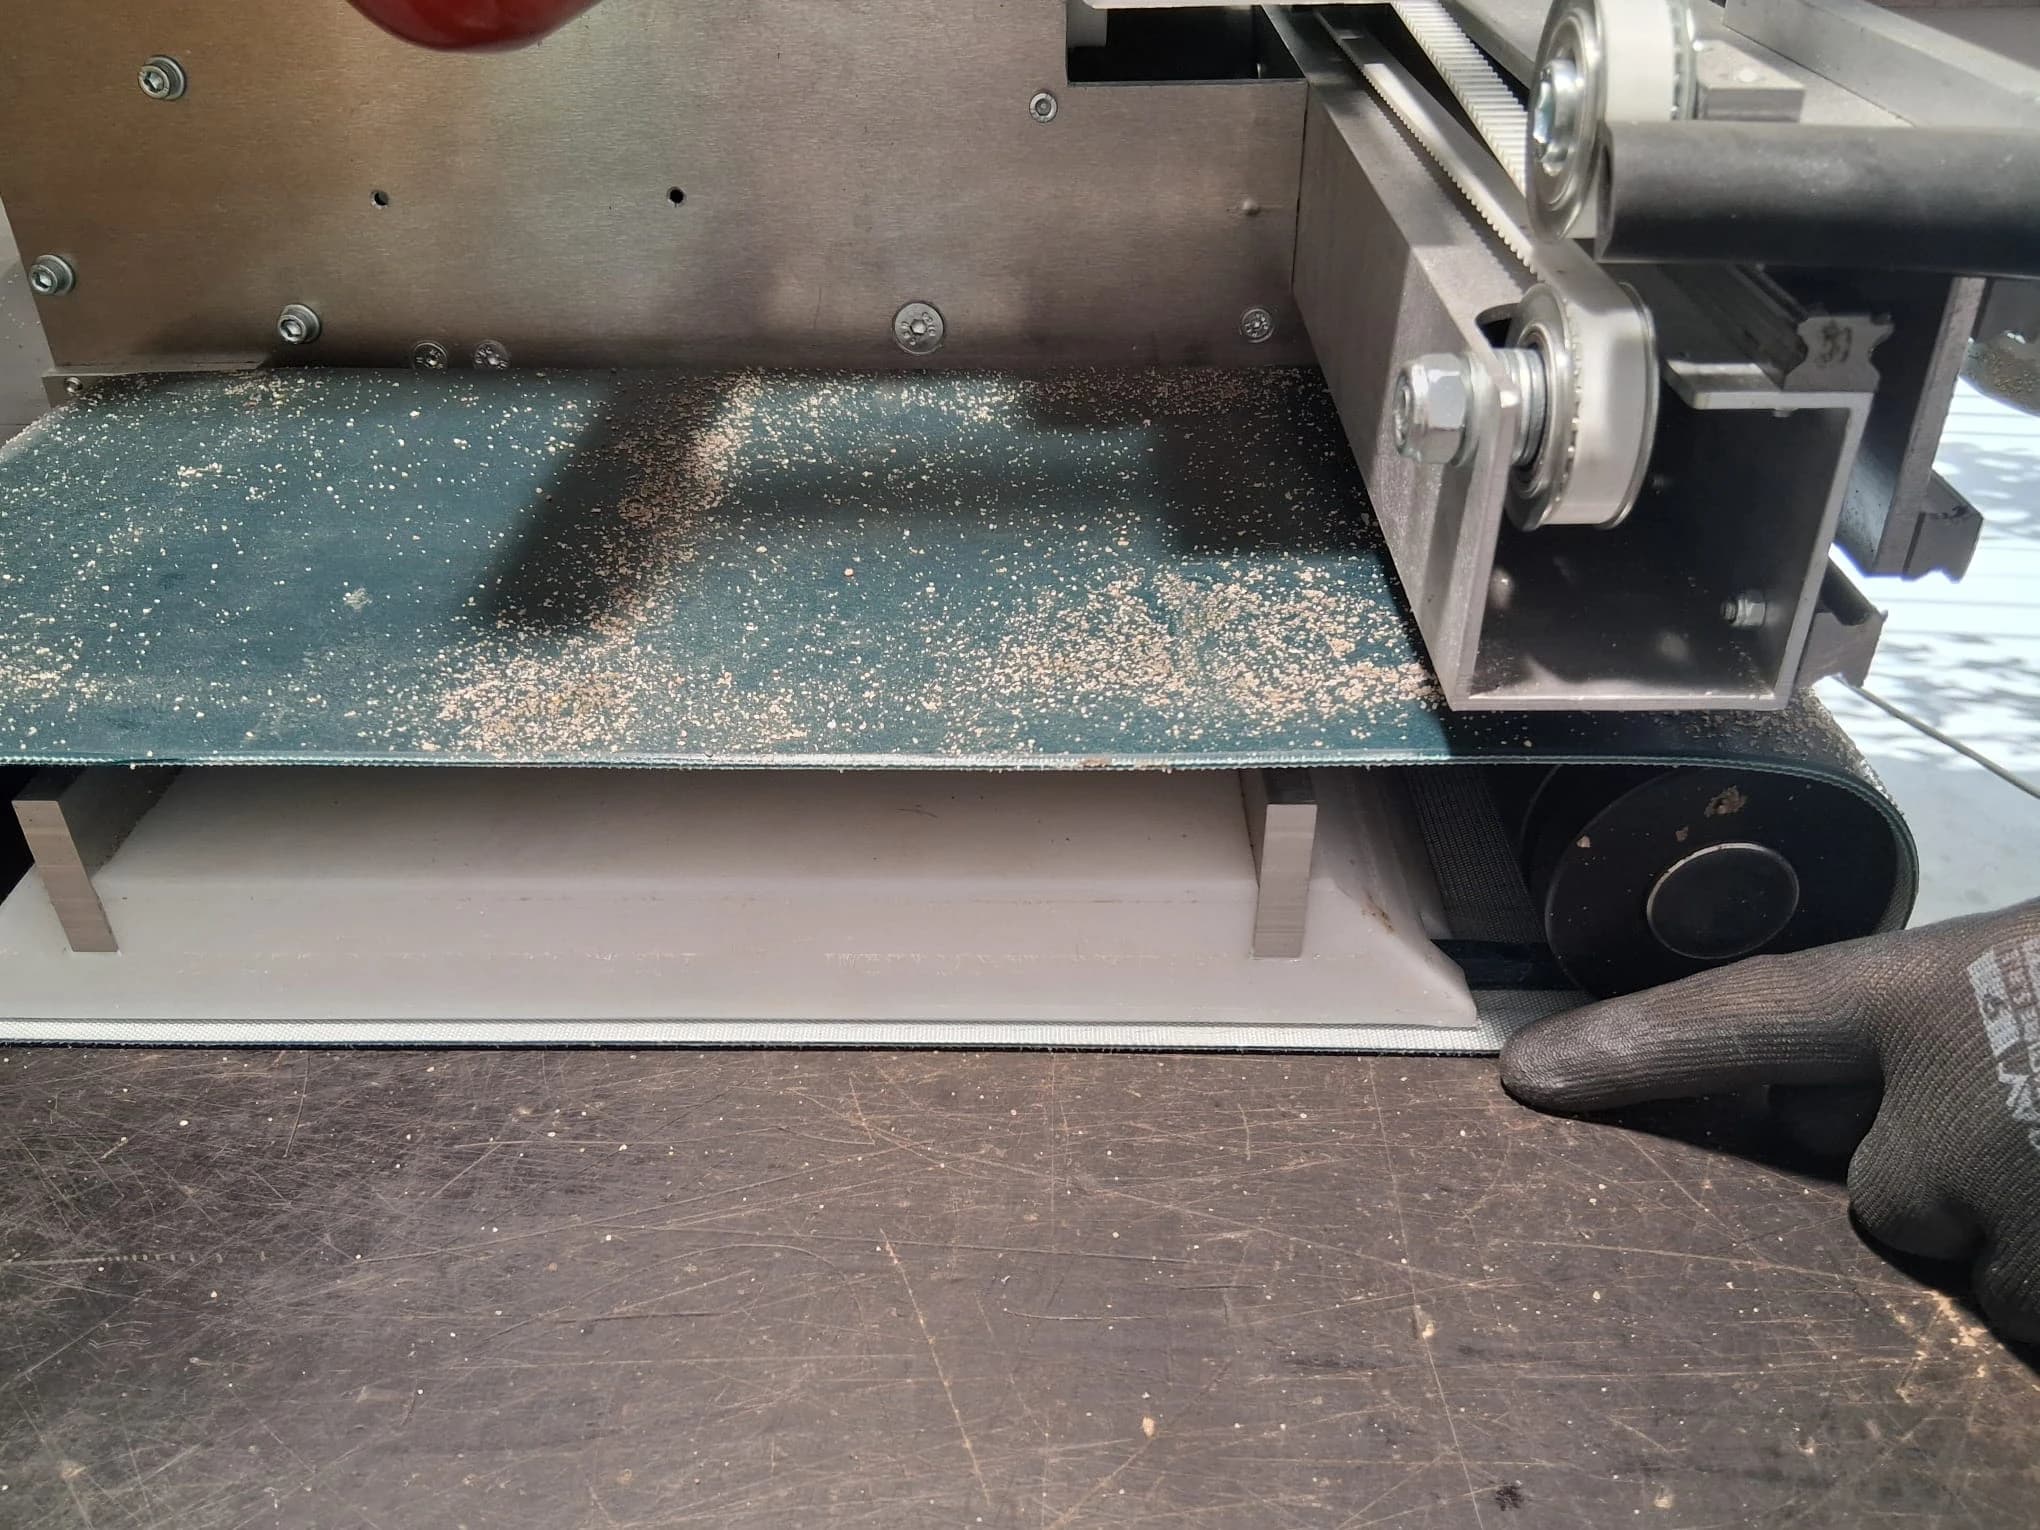
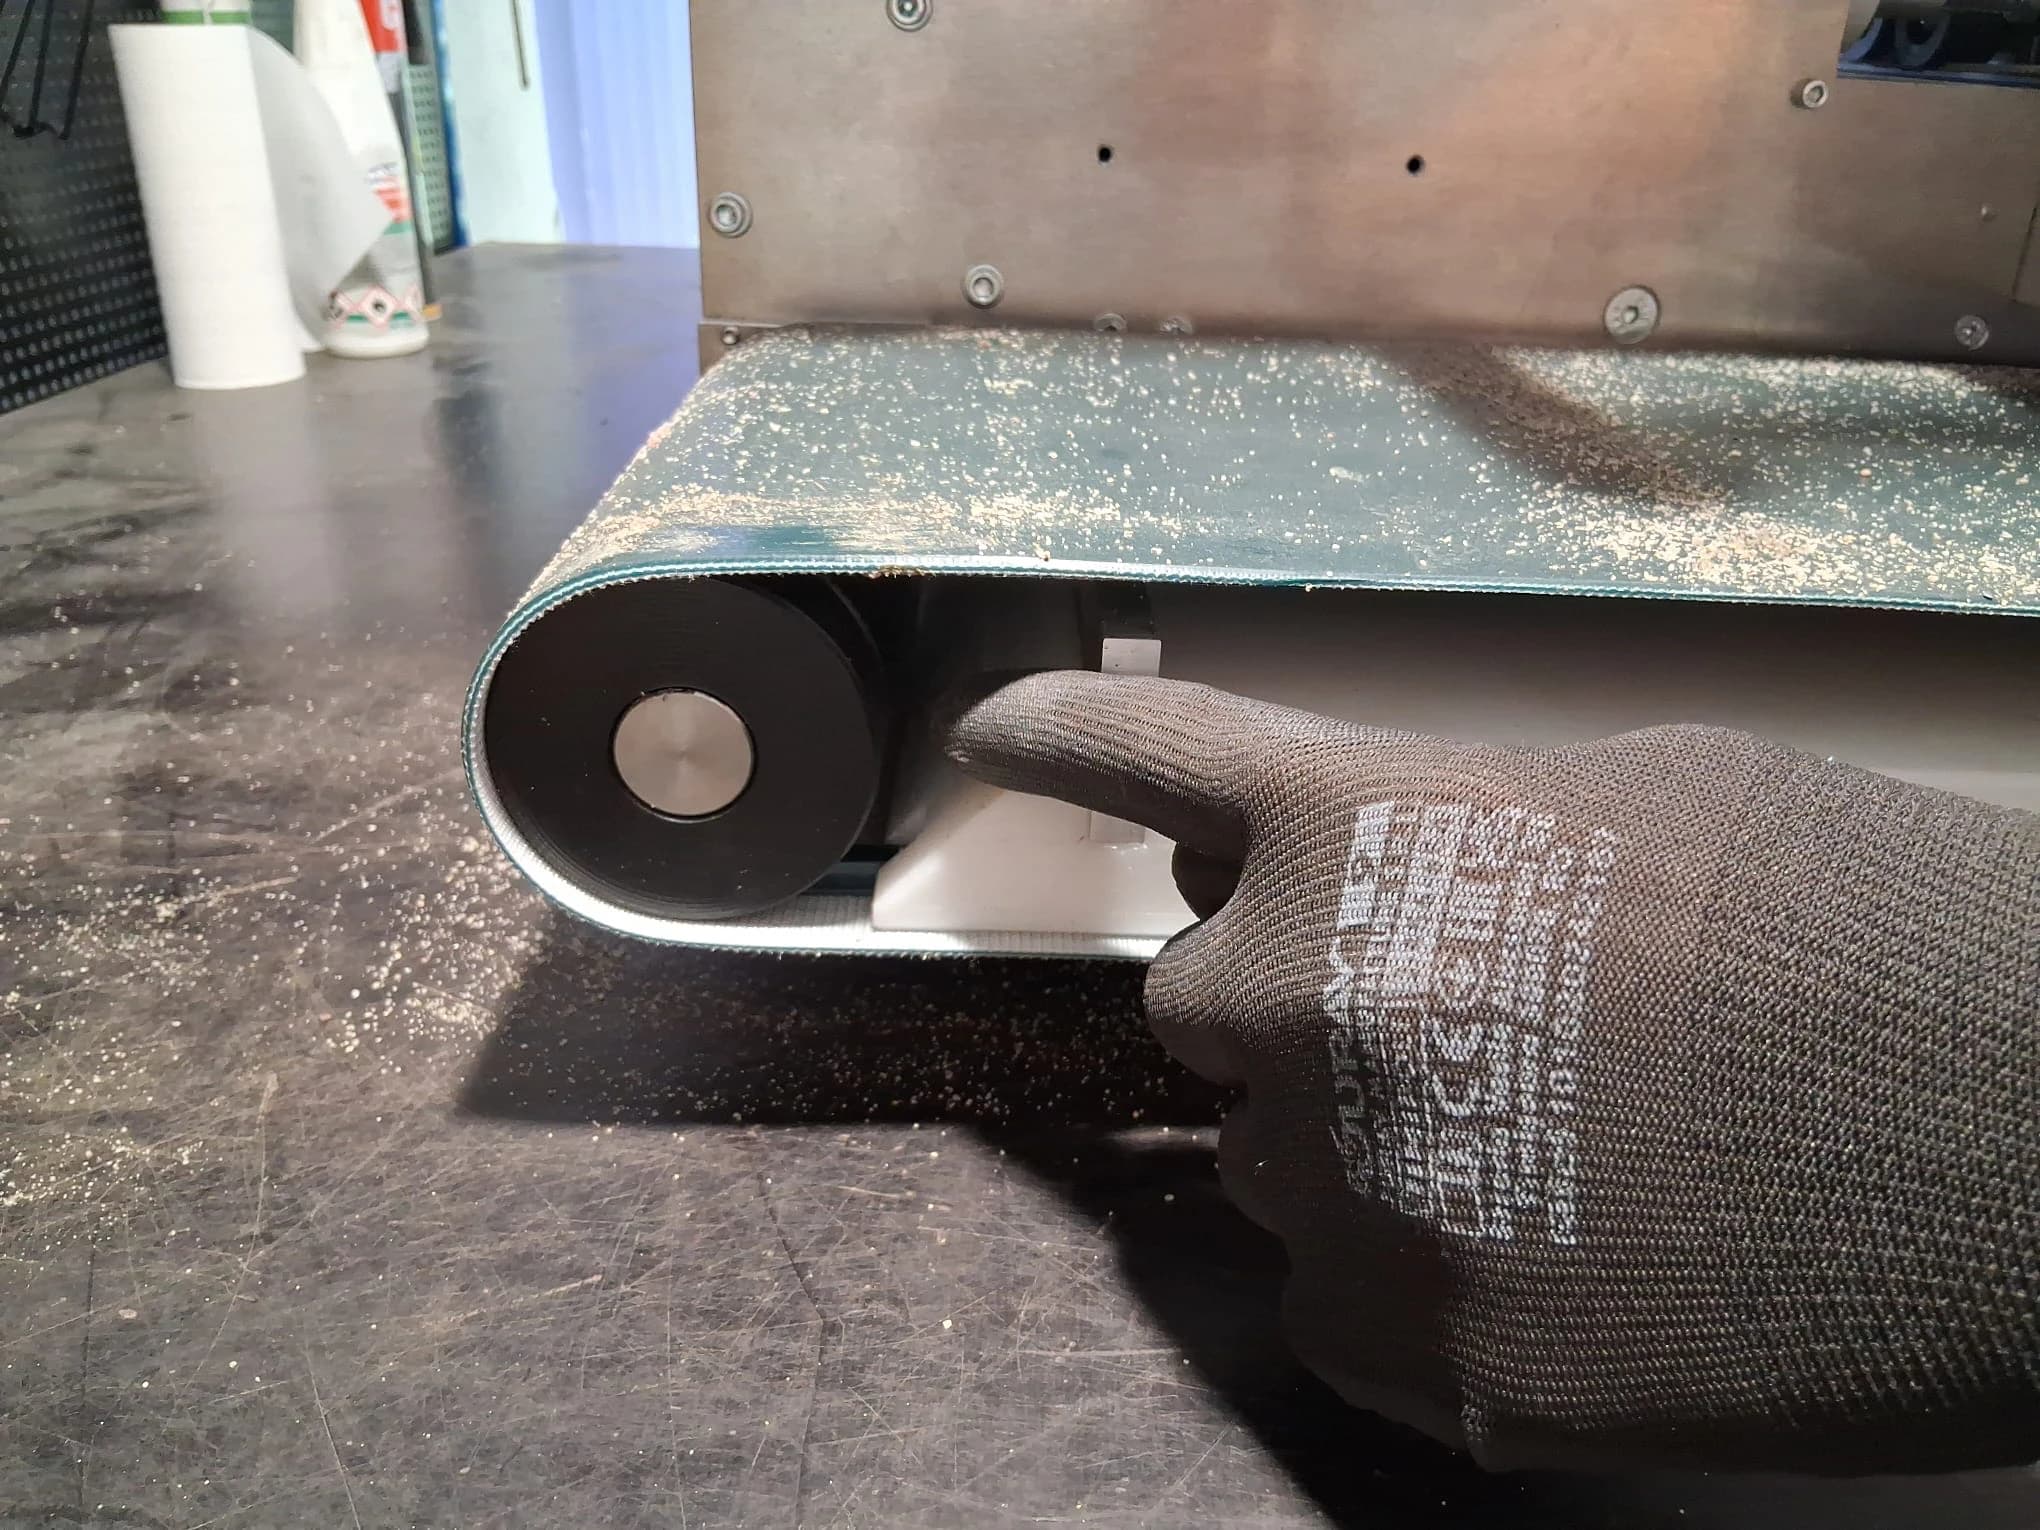
Clean the drive belts and rollers
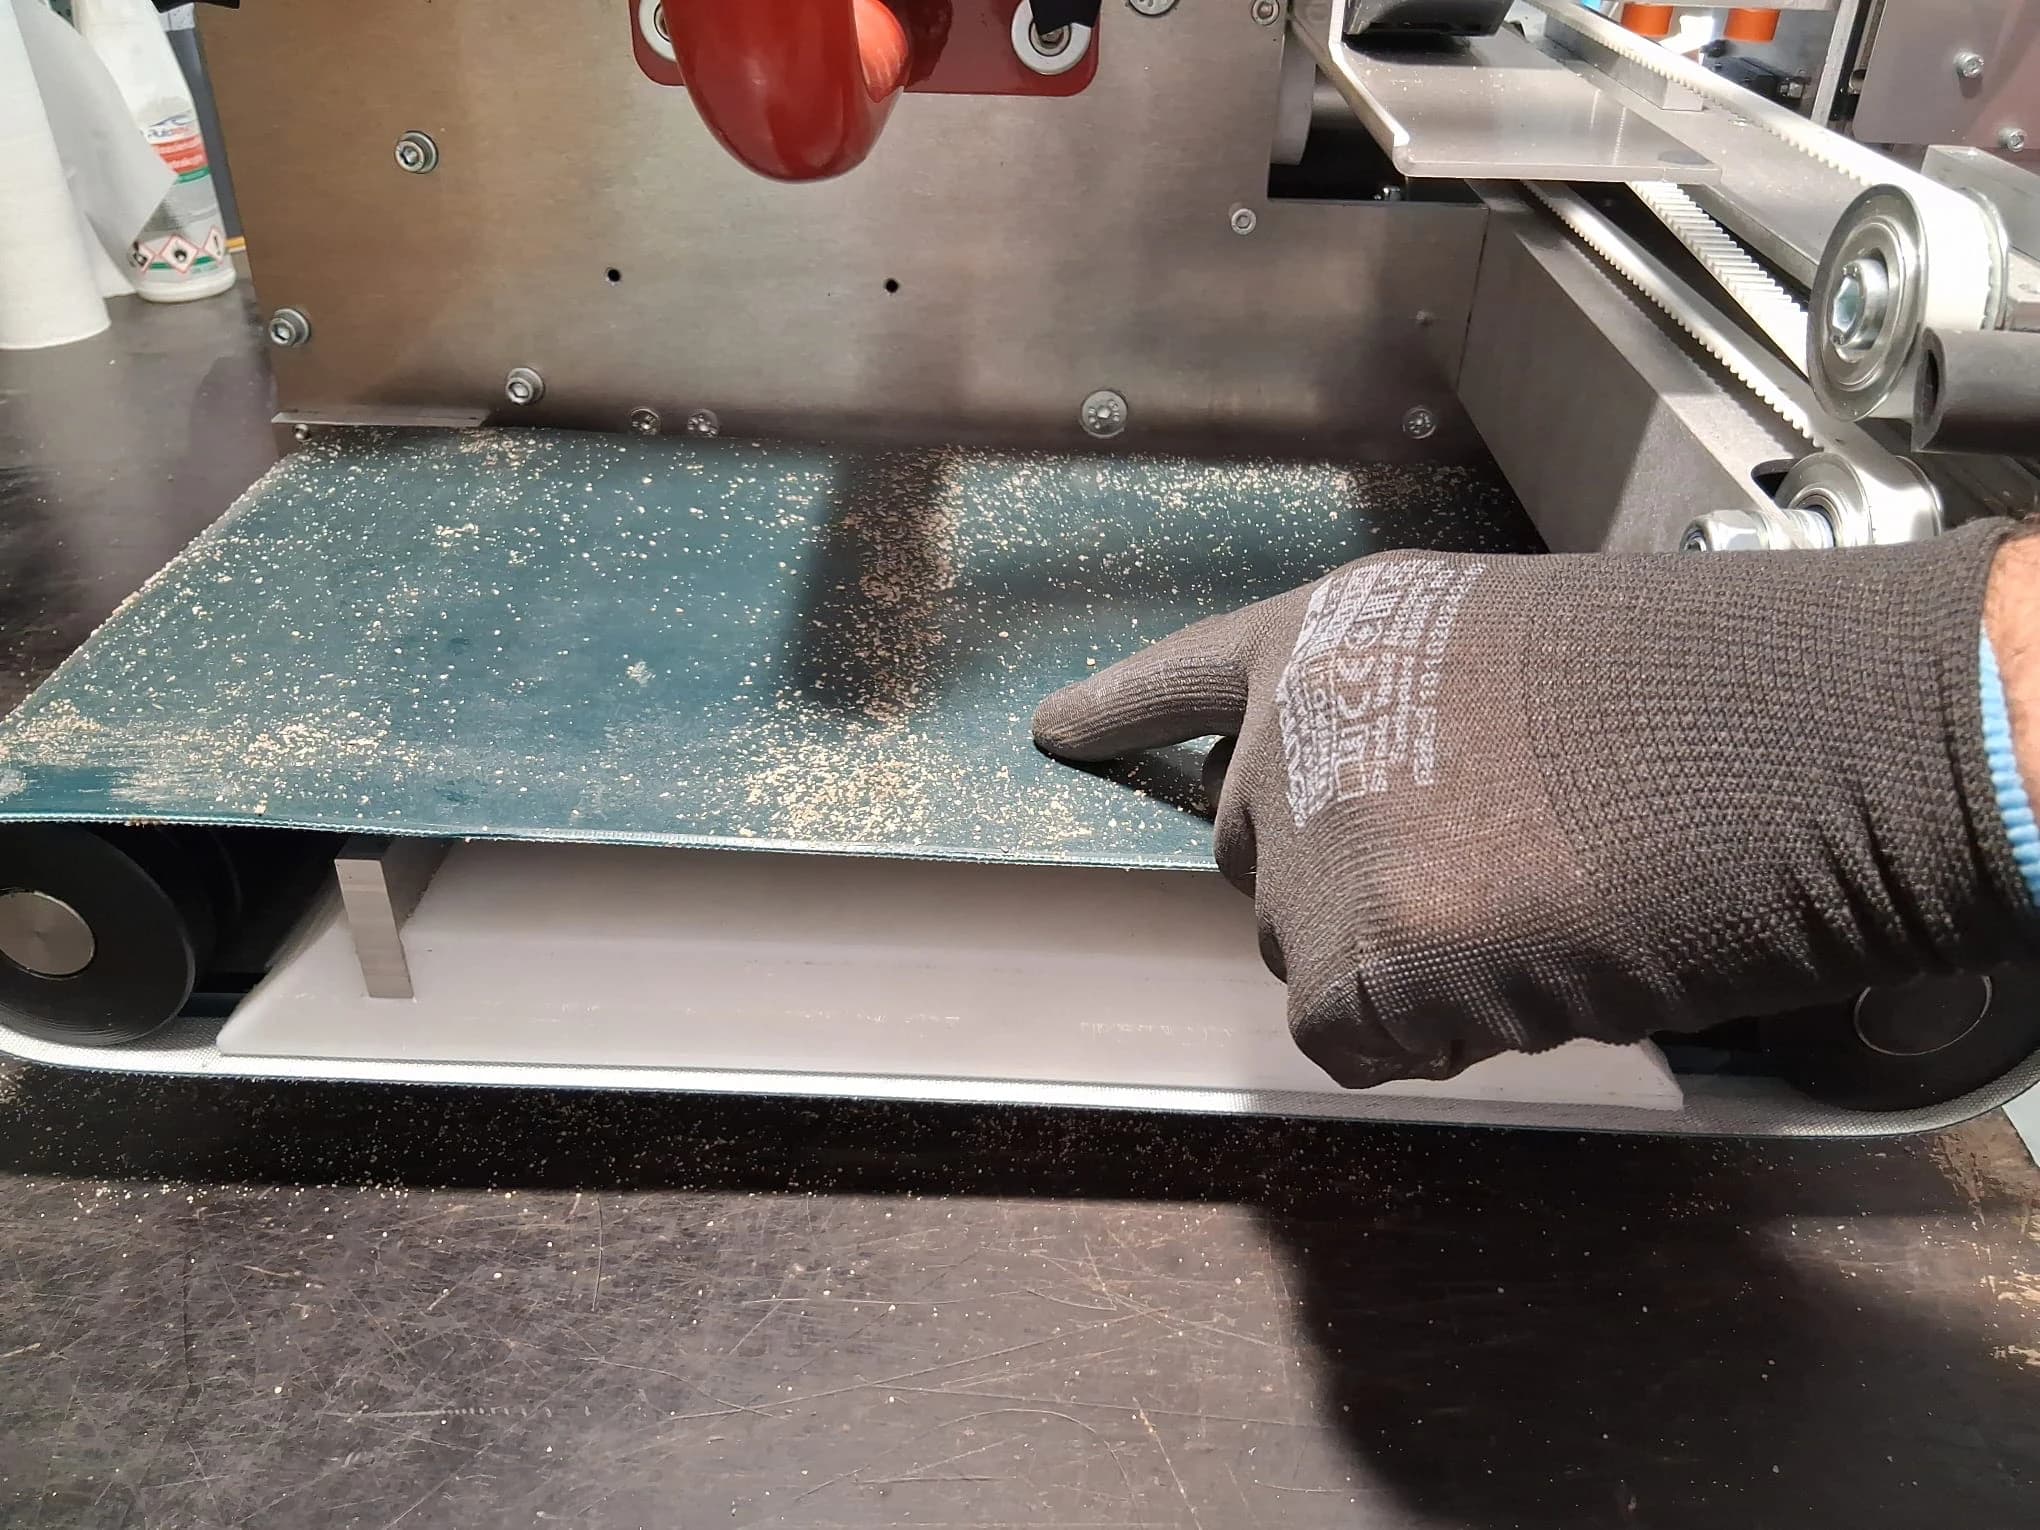
What it does
During work, the drive belts have the most contact with the mortar — clean them thoroughly when you're done. Keep the drive rollers clean too, so mortar doesn't dry on the drive system components.
Why it matters
Dried mortar on or under the belt can leave voids in the finished floor. Keep the belts clean to avoid extra rework.
Warning
Make sure the drive rollers are clean. Each roller has a grooved belt channel — if mortar dries in there, the belt can slip off the roller.
Operator tip
Lift the machine, then press the forward button so the belts start moving. This makes it much easier to clean the full surface of the belts and rollers.
Machine lifted so the rollers are clear of the surface
The easiest way to clean a roller is to run it with the forward/backward buttons.
Cleaning the outer part of the roller
Clean the outer part of the roller.
Cleaning the inner part of the roller
Clean the inner part of the roller.
Cleaning the roller drive wheels
Remove dirt from the roller wheels — mortar left on them causes many problems.
04

Clean and oil the rails and bearings
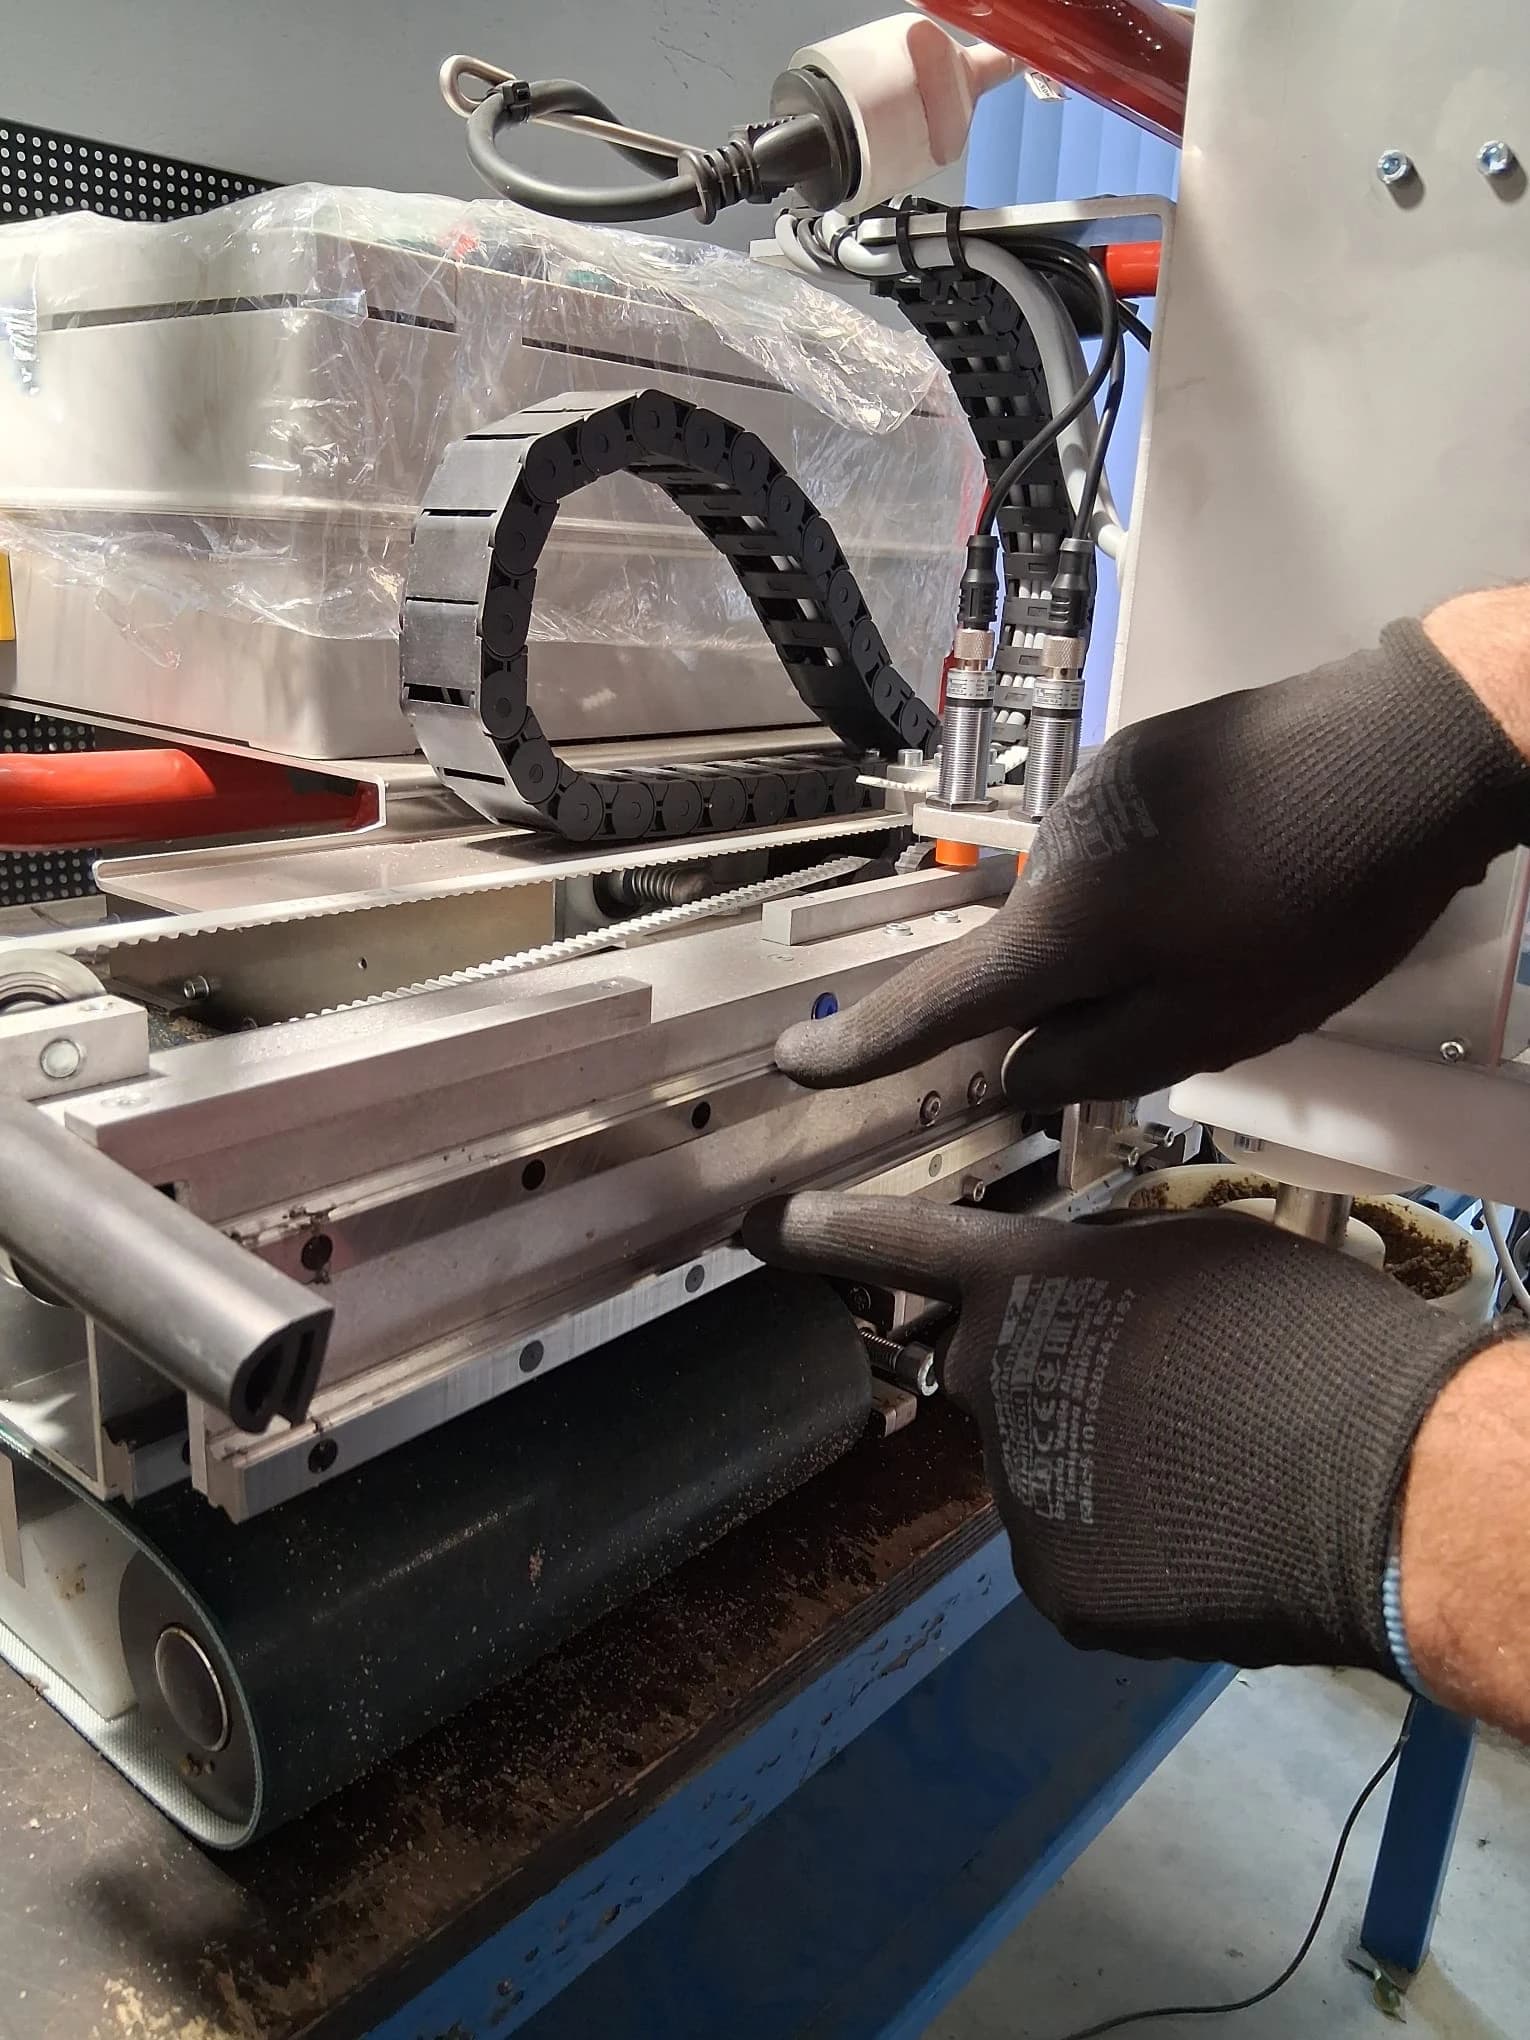
What it does
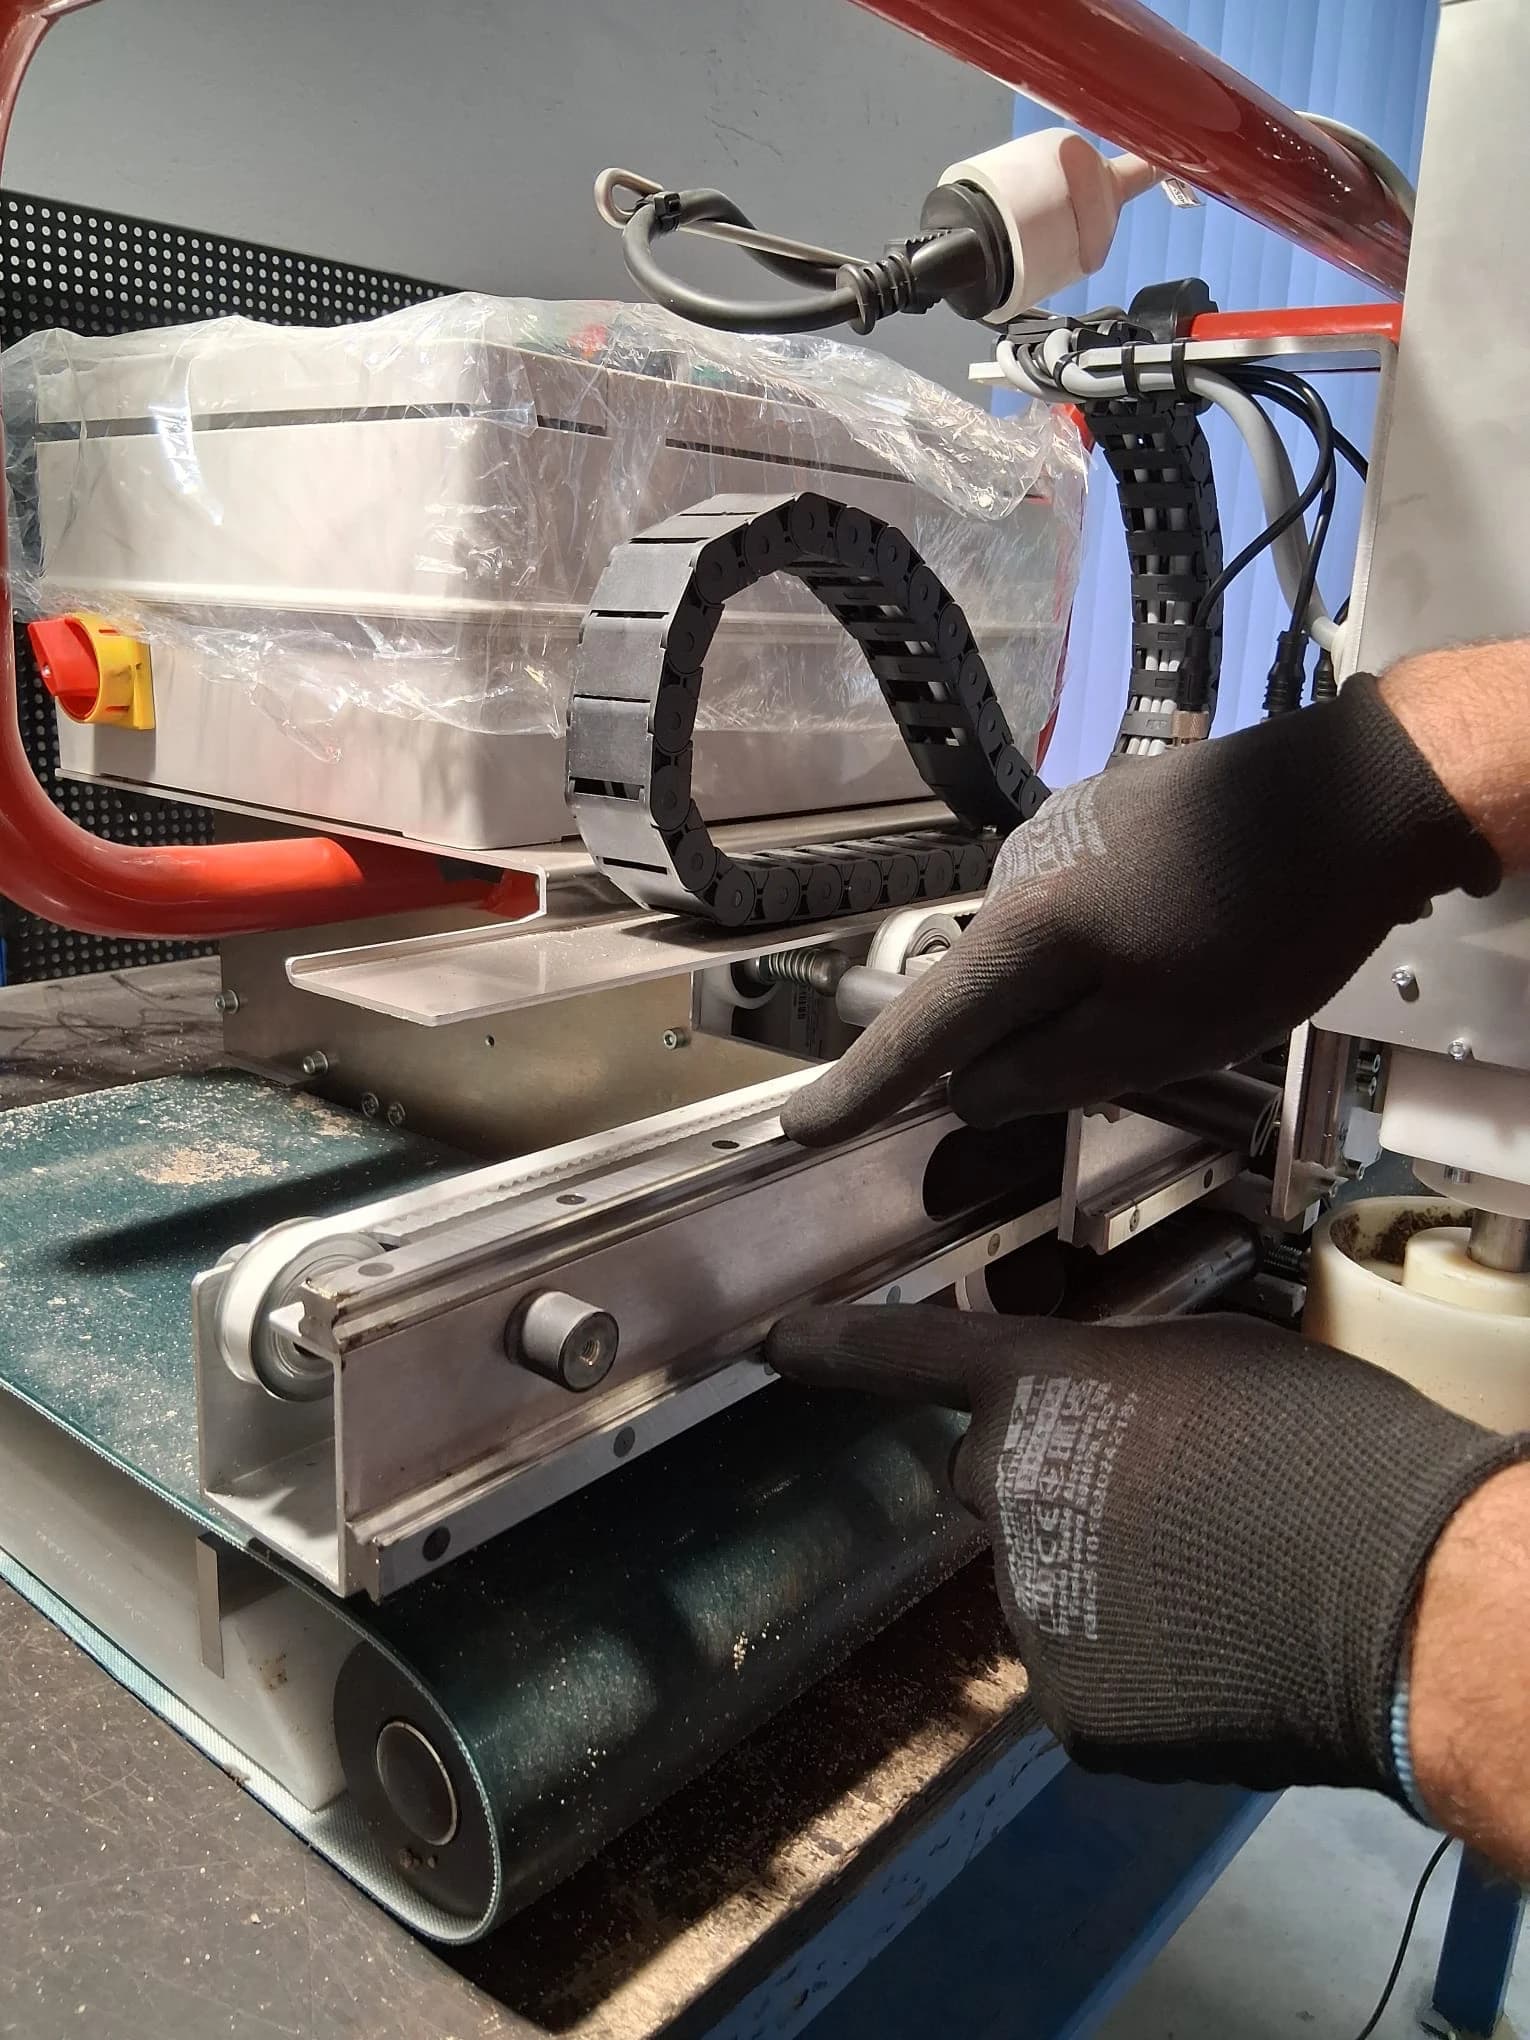
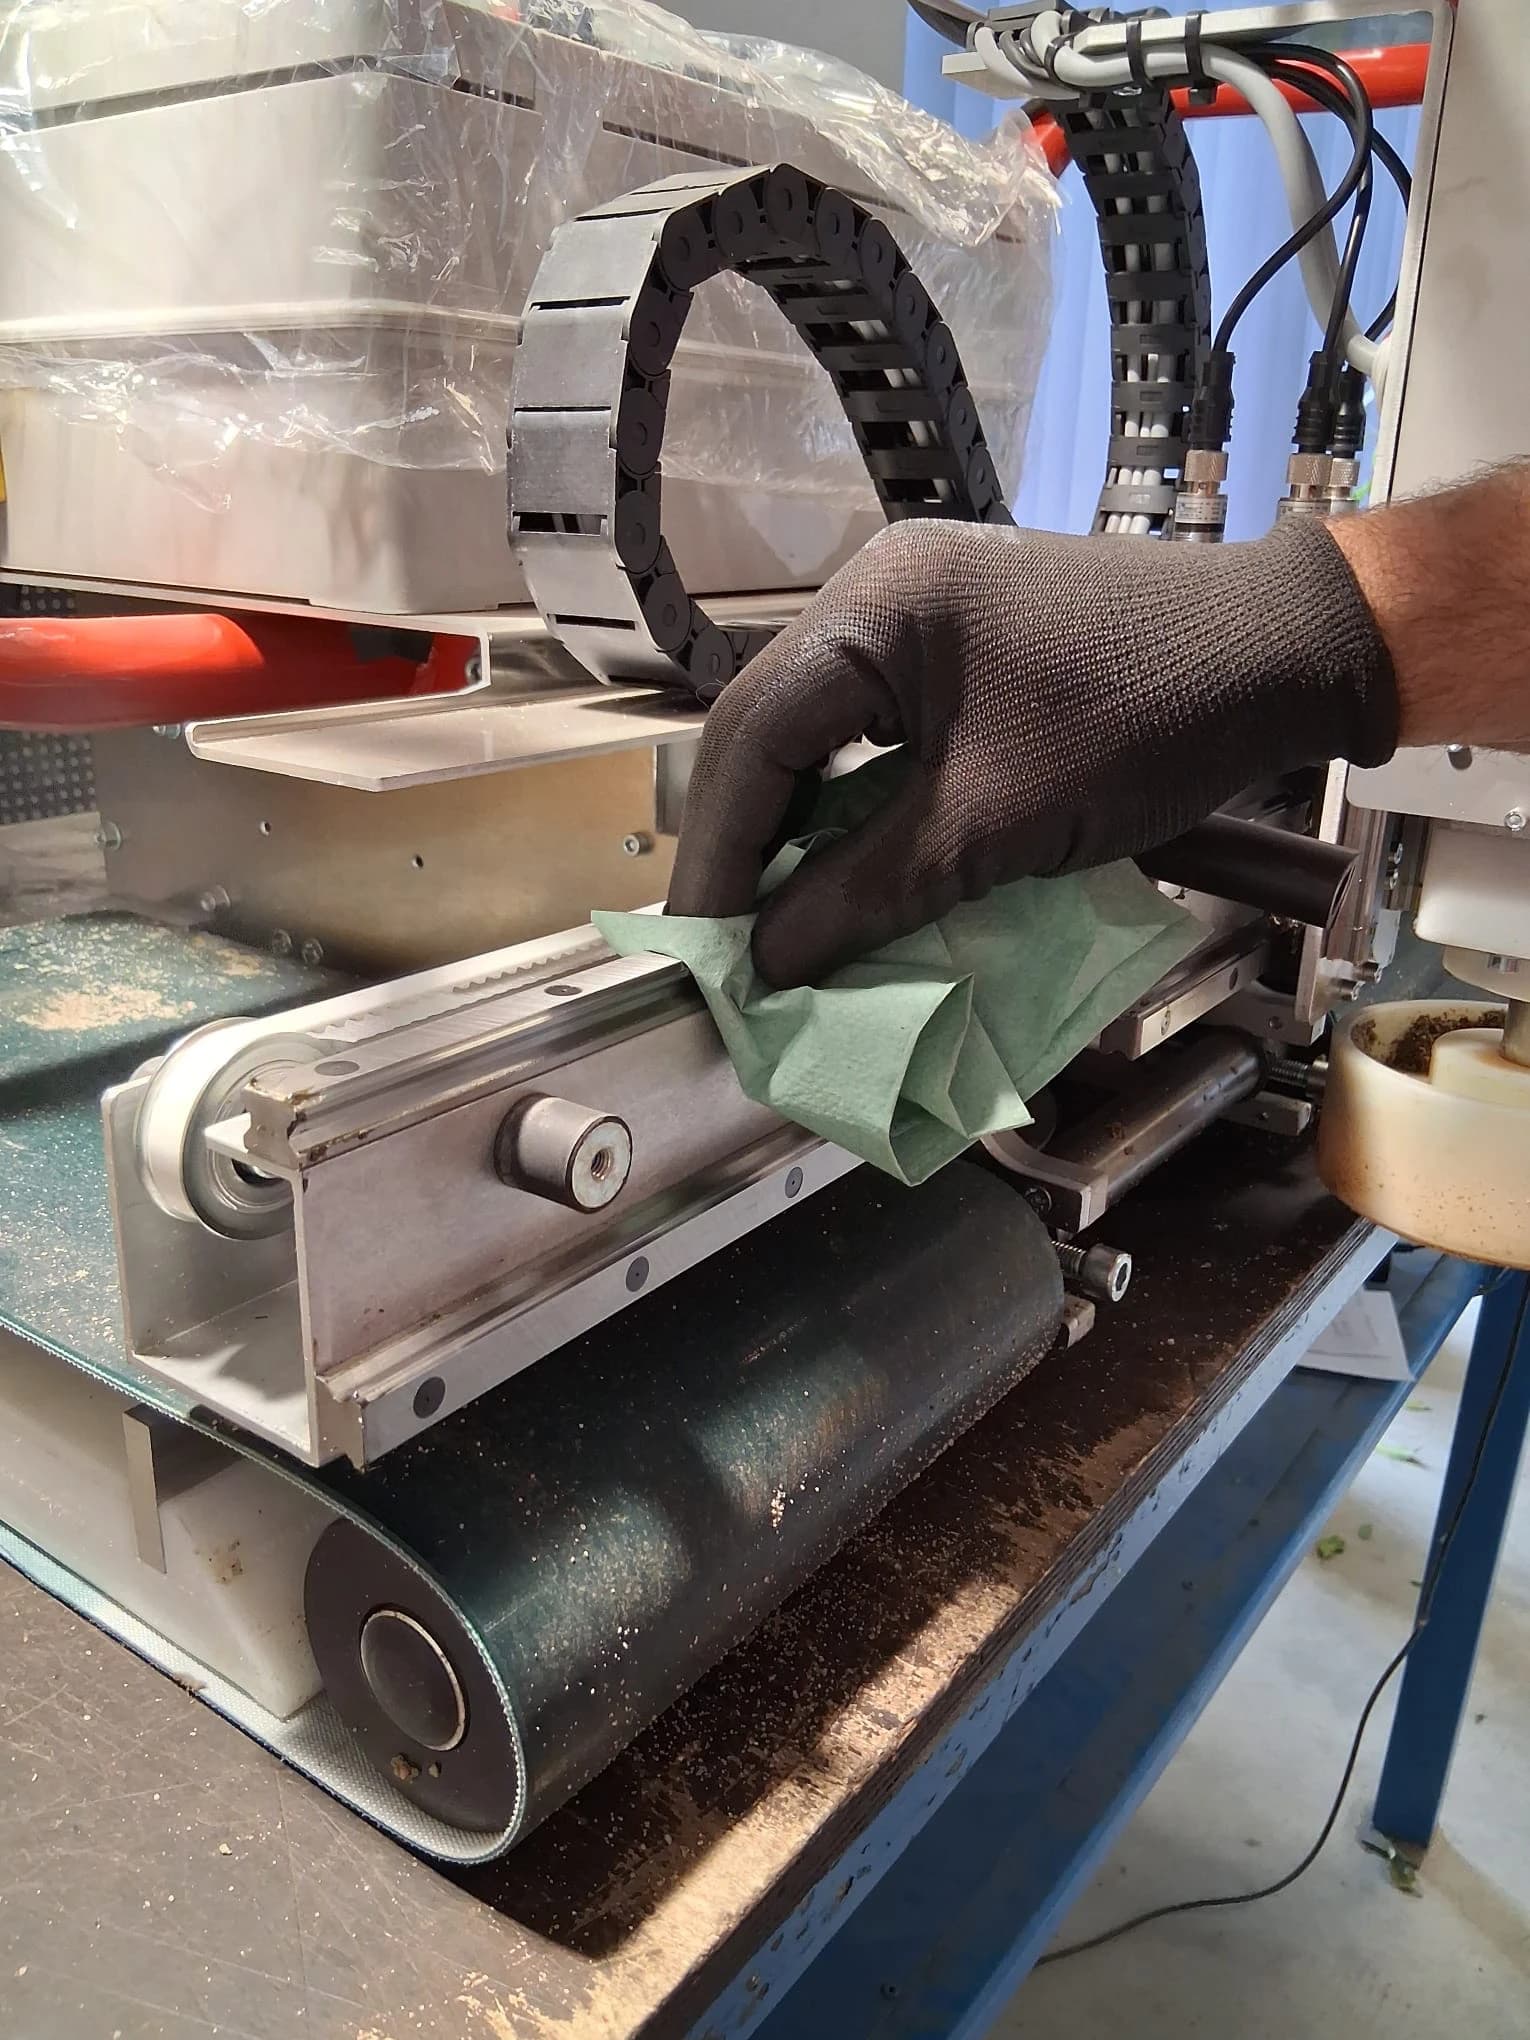
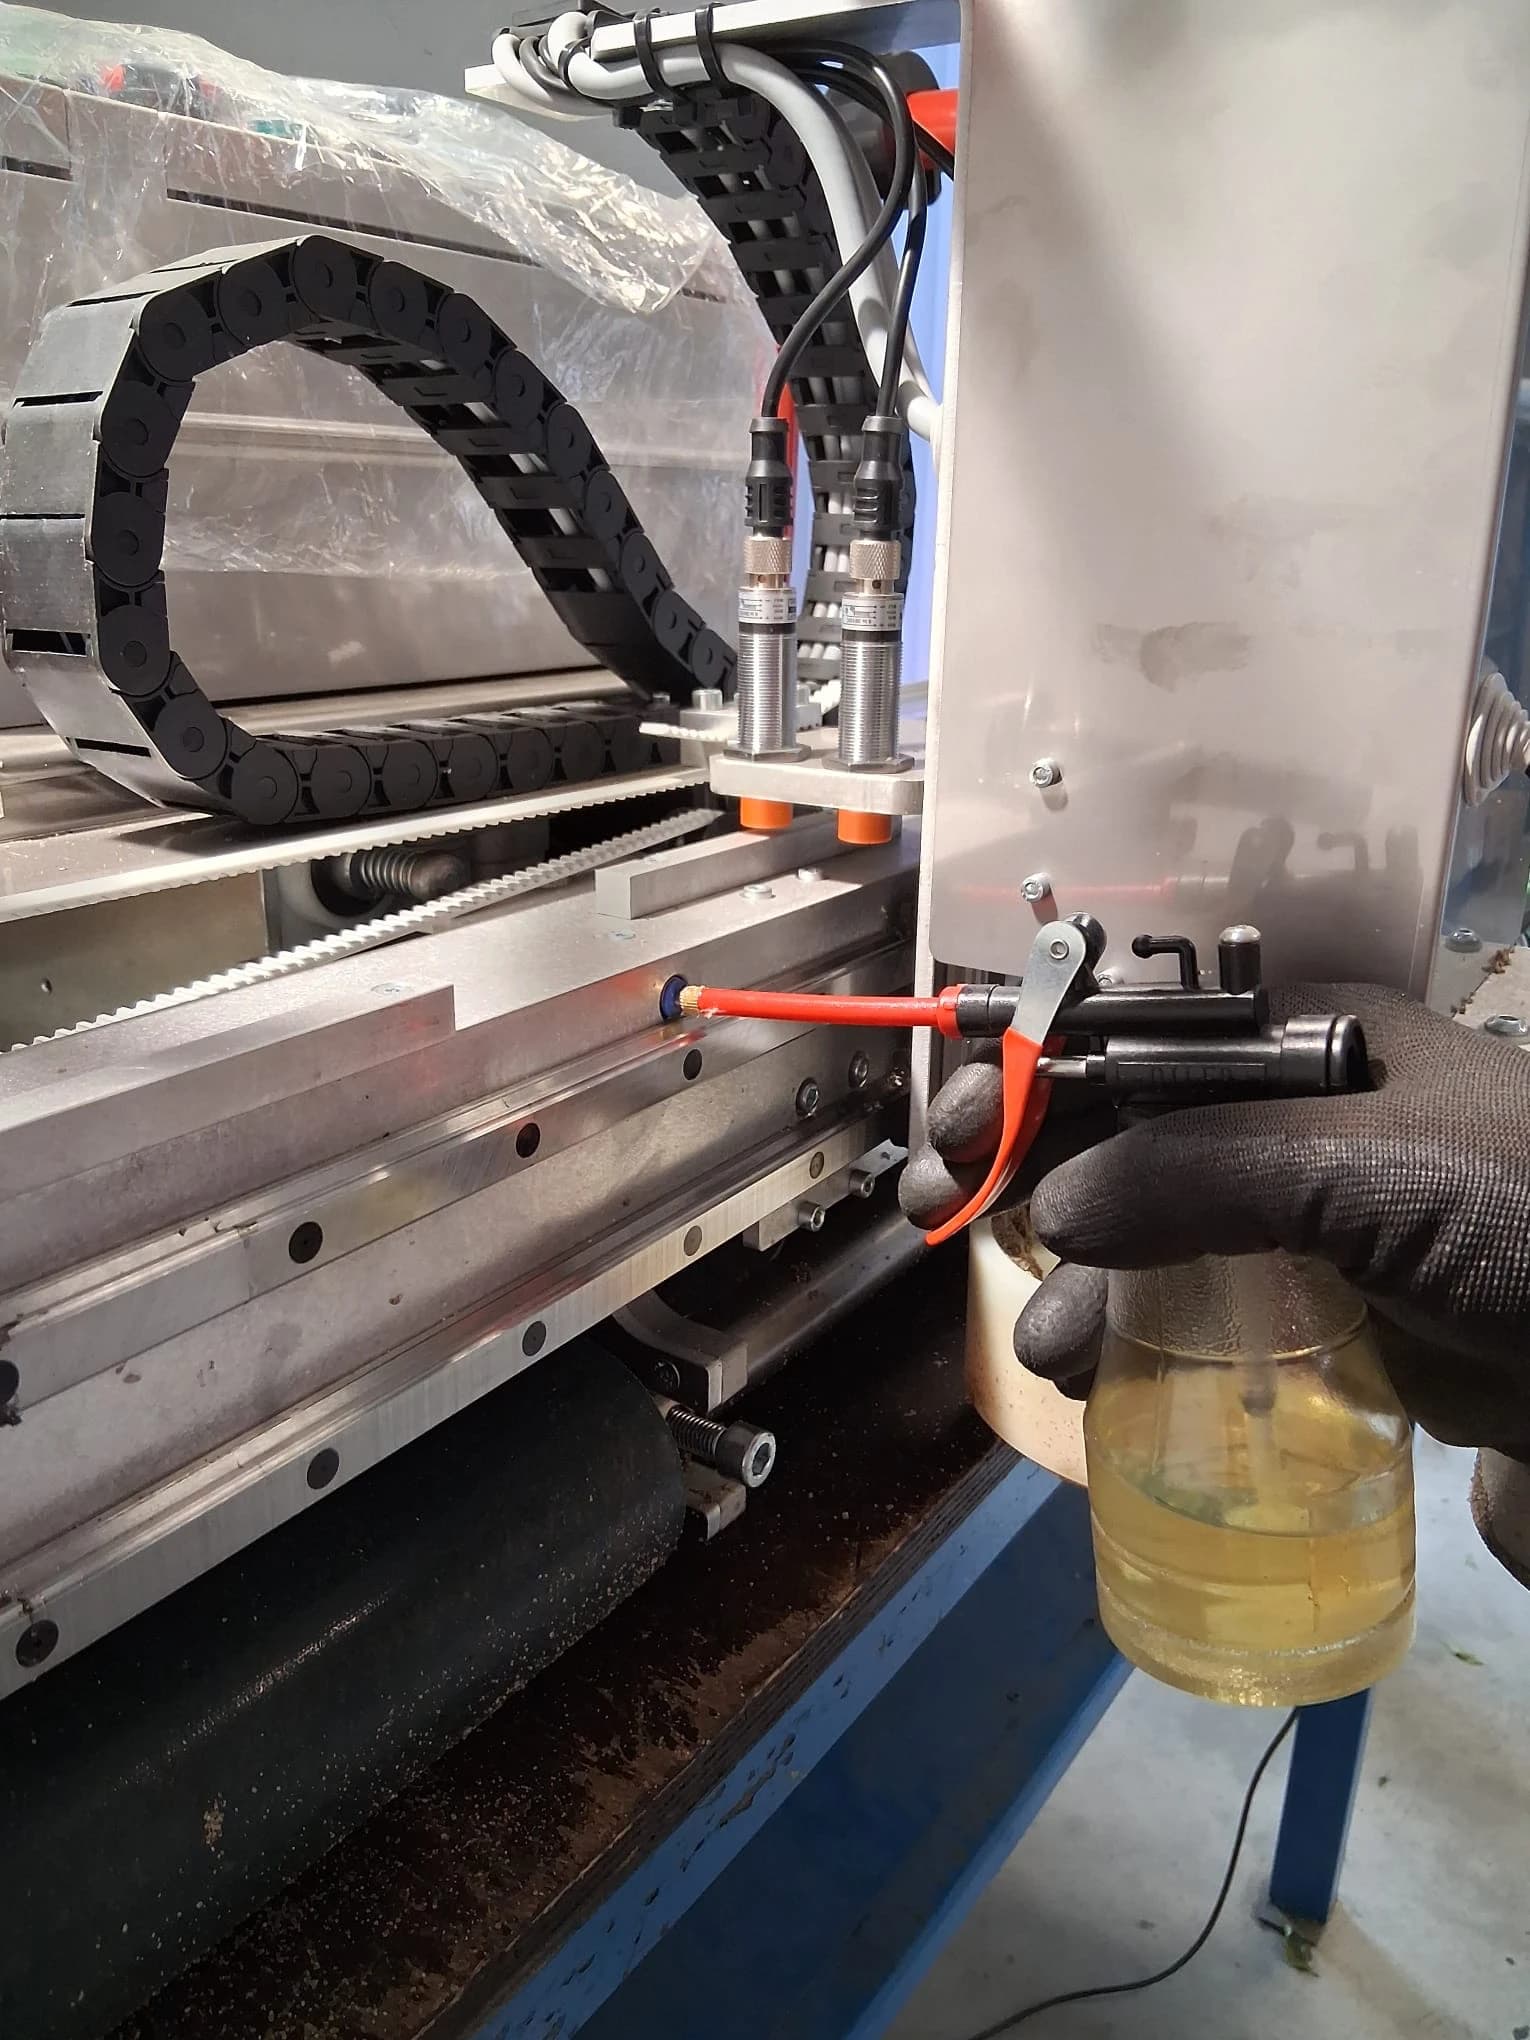
Clean and dry the metal rail guides — outer side first, then inner. Then oil the rails and beam through the lubrication points: two ports on the beam and three on the head holder. Lubricate the linear bearings with the kit's oiler using thin hydraulic oil. When done, run the head left and right to spread the oil evenly along the guides.
Why it matters
Clean, lightly oiled rails and bearings keep the head moving smoothly. Excess or contaminated oil attracts dirt and binds the movement.
Operator tip
If the machine squeaks or sticks during work, you can stop briefly and oil it to restore smooth operation.
Warning
An under-lubricated machine wears out faster and can run less smoothly. A few minutes of regular oiling and cleaning goes a long way toward reducing breakdown risk and extending component life.
Rail guides on the outer side of the machine
Clean and dry the rail guides on the outer side.
Rail guides on the inner side of the machine
Clean and dry the rail guides on the inner side.
Drying the rails with paper towel
Use paper towel to dry the rails.
Oiling ports on the beam and head holder
Oil the rails and beam — two ports on the beam, three more on the head holder.

Periodic inspections

Mechanical components:

  • Trowelling plates — check for wear, cracks, or damage.
  • T5 toothed belt — verify tension and alignment.
  • Drive belt — check for stretching.
  • Rollers — confirm smooth rotation and clean surfaces.
  • Track belts — check for stretching.

Electrical system:

  • Control panel — test every button and indicator.
  • Laser detector — verify laser accuracy.
  • Limit sensor — confirm correct operation.
  • Remote controls — test the remotes.
  • Cables — check for wear.

Safety features:

  • Emergency stop — test the immediate shutdown.

Component replacement indicators

Replace immediately when:

  • Trowelling plates show significant wear.
  • Drive belts crack or stretch.
  • Bearings feel rough or bind.
  • Electrical components show damage, or a safety switch fails.

Schedule replacement soon when:

  • Rollers wear unevenly.
  • Operating noise increases.
  • Battery performance drops significantly.

Seasonal adjustments

  • Cold weather: let the battery warm before charging, watch for condensation in the electronics, and store the machine somewhere temperature-controlled.
  • Hot weather: ensure good ventilation while running, watch the battery temperature during charging, and clean more often in dusty conditions.

Troubleshooting

SymptomWhat to check
Won't start after cleaningPower LED, fuses, the released emergency stop, and battery connections.
Reduced movement after lubricationExcess or contaminated oil on the guides, oil viscosity, and head position sensors (LEDs 4 and 5).
Level accuracy compromisedLaser detector, laser alignment, and trowelling plates.

When to contact service

If you're unsure whether the machine is in good working order, notice anything unusual, or need help — get in touch with our service team.

  • Phone (PL, ENG): +48 665 065 904
  • Phone (PL): +48 664 183 146
  • Phone (Service): +48 728 419 832
  • Email: contact@clapa.pl

Stick to this routine to keep the machine in good technical condition, reduce component wear, and minimize the risk of downtime. Regular maintenance always costs less than a repair.

Ready to improve your floors?

Want to improve floor quality on your next project?

Talk to Cłapa about Floor Master Type 130 and find out which version fits your job sites.

Request Offer